Meshy 5 Is Here — Create Better 3D Models from Images
We're thrilled to announce the release of Meshy 5, our most advanced version yet! With significant improvements across the board, you'll now experience a major leap in quality when converting images into 3D models.
The upgraded Image to 3D feature now produces models with sharper geometry, cleaner topology, and more realistic textures—all based on just a single image input. Whether you're creating characters, creatures, or concept art, Meshy 5 delivers results that are more accurate and production-ready than ever before.

How to Create 3D Models from 2D Images?
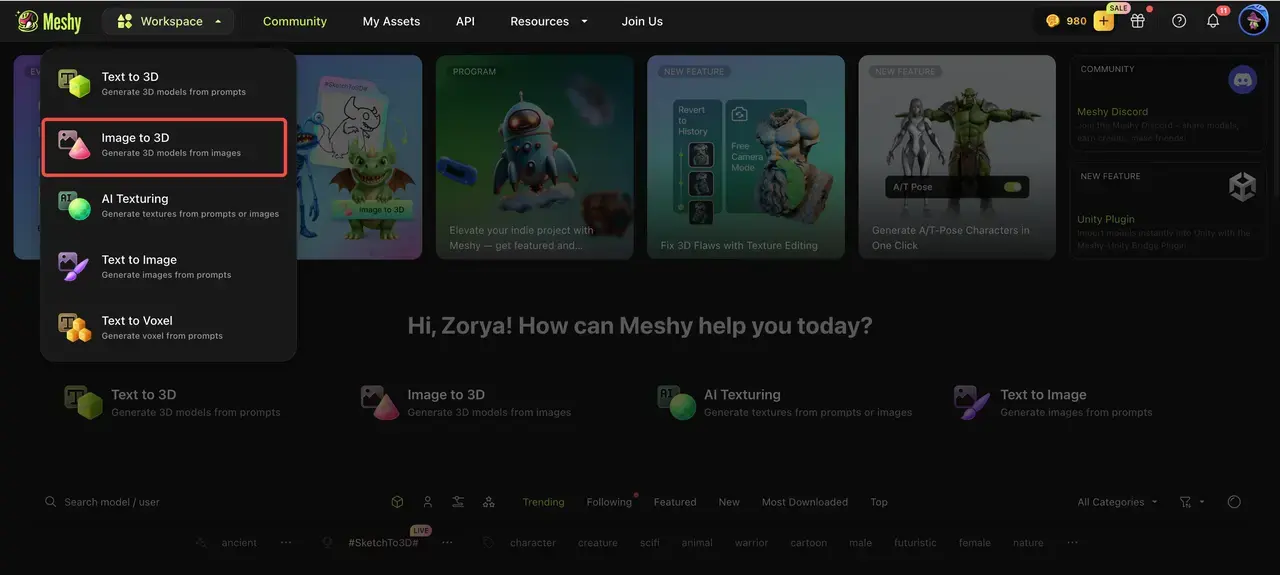
Step 1: Start by navigating to the "Image to 3D" workspace within Meshy. This is where you'll begin the process of transforming your 2D images into 3D models.
Step 2: Upload your chosen image. Whether it's a photo of a product, a drawing, or any 2D artwork, Meshy will analyze it and prepare it for 3D conversion.
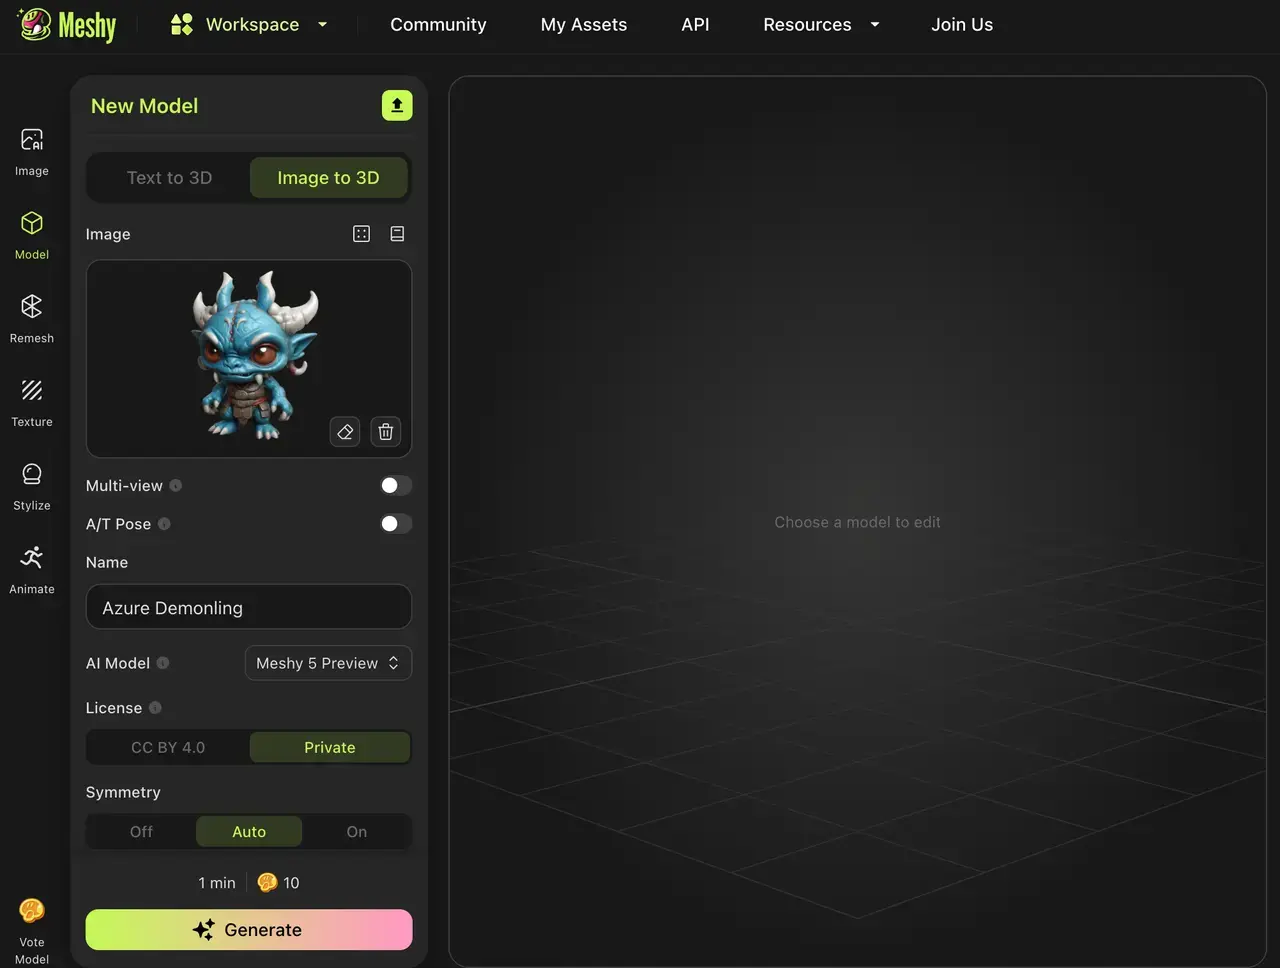
Step 3: Select the "Meshy 5 preview" AI Model and click Generate. This is the key step where Meshy's AI-powered tools work their magic, generating a detailed and accurate 3D model from your image.
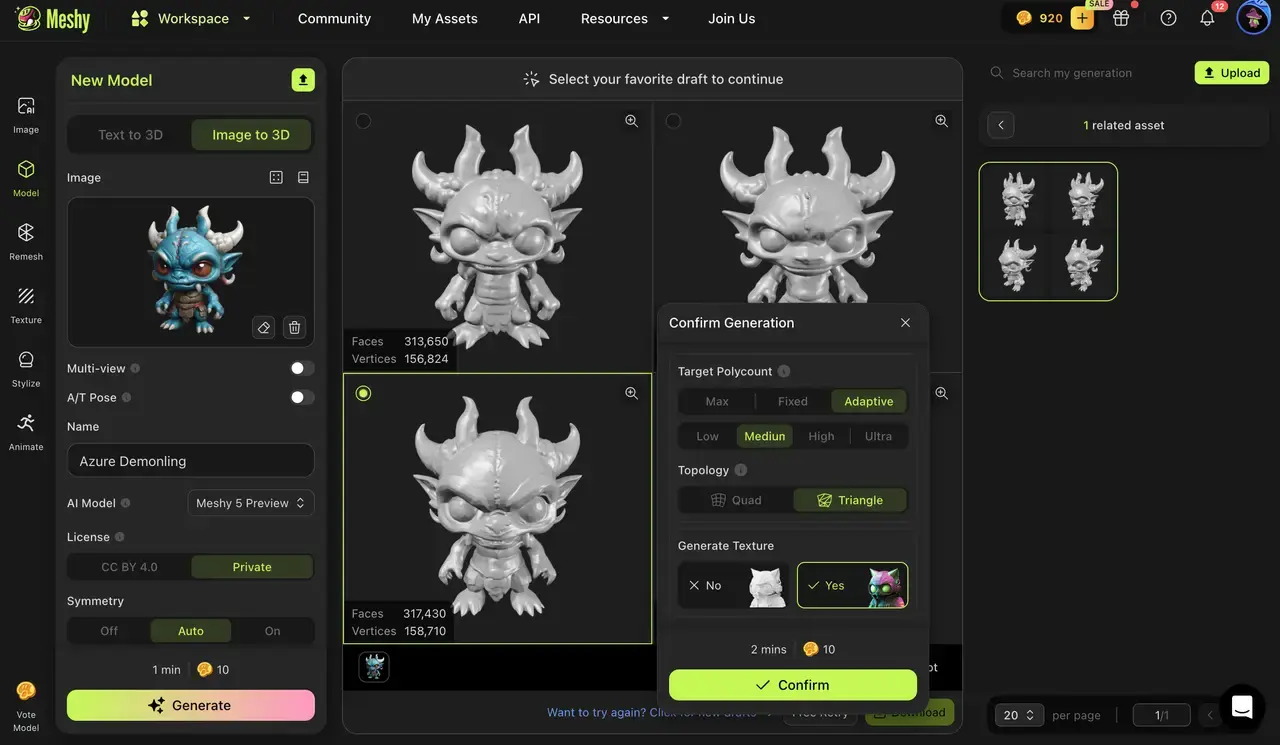
Step 4: Once your 3D model is generated, review the base mesh. This is your opportunity to ensure the model meets your expectations before downloading the file.
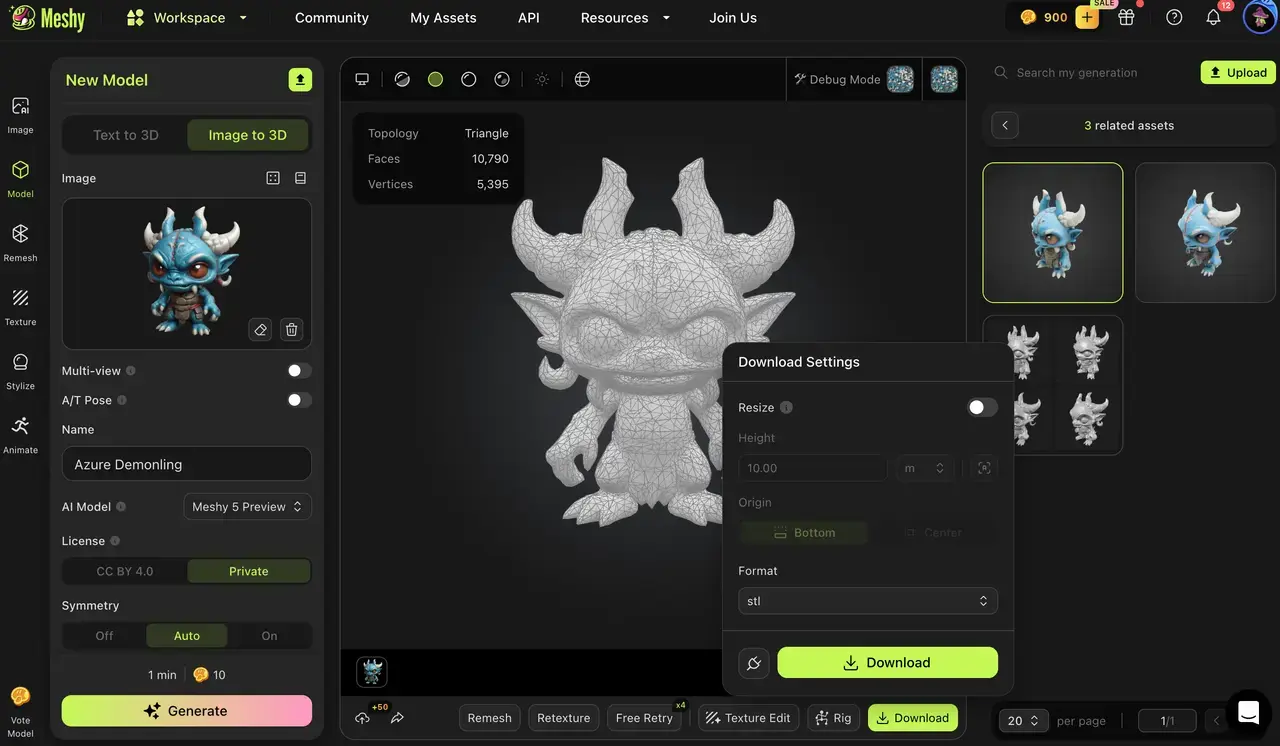
Meshy's intuitive interface
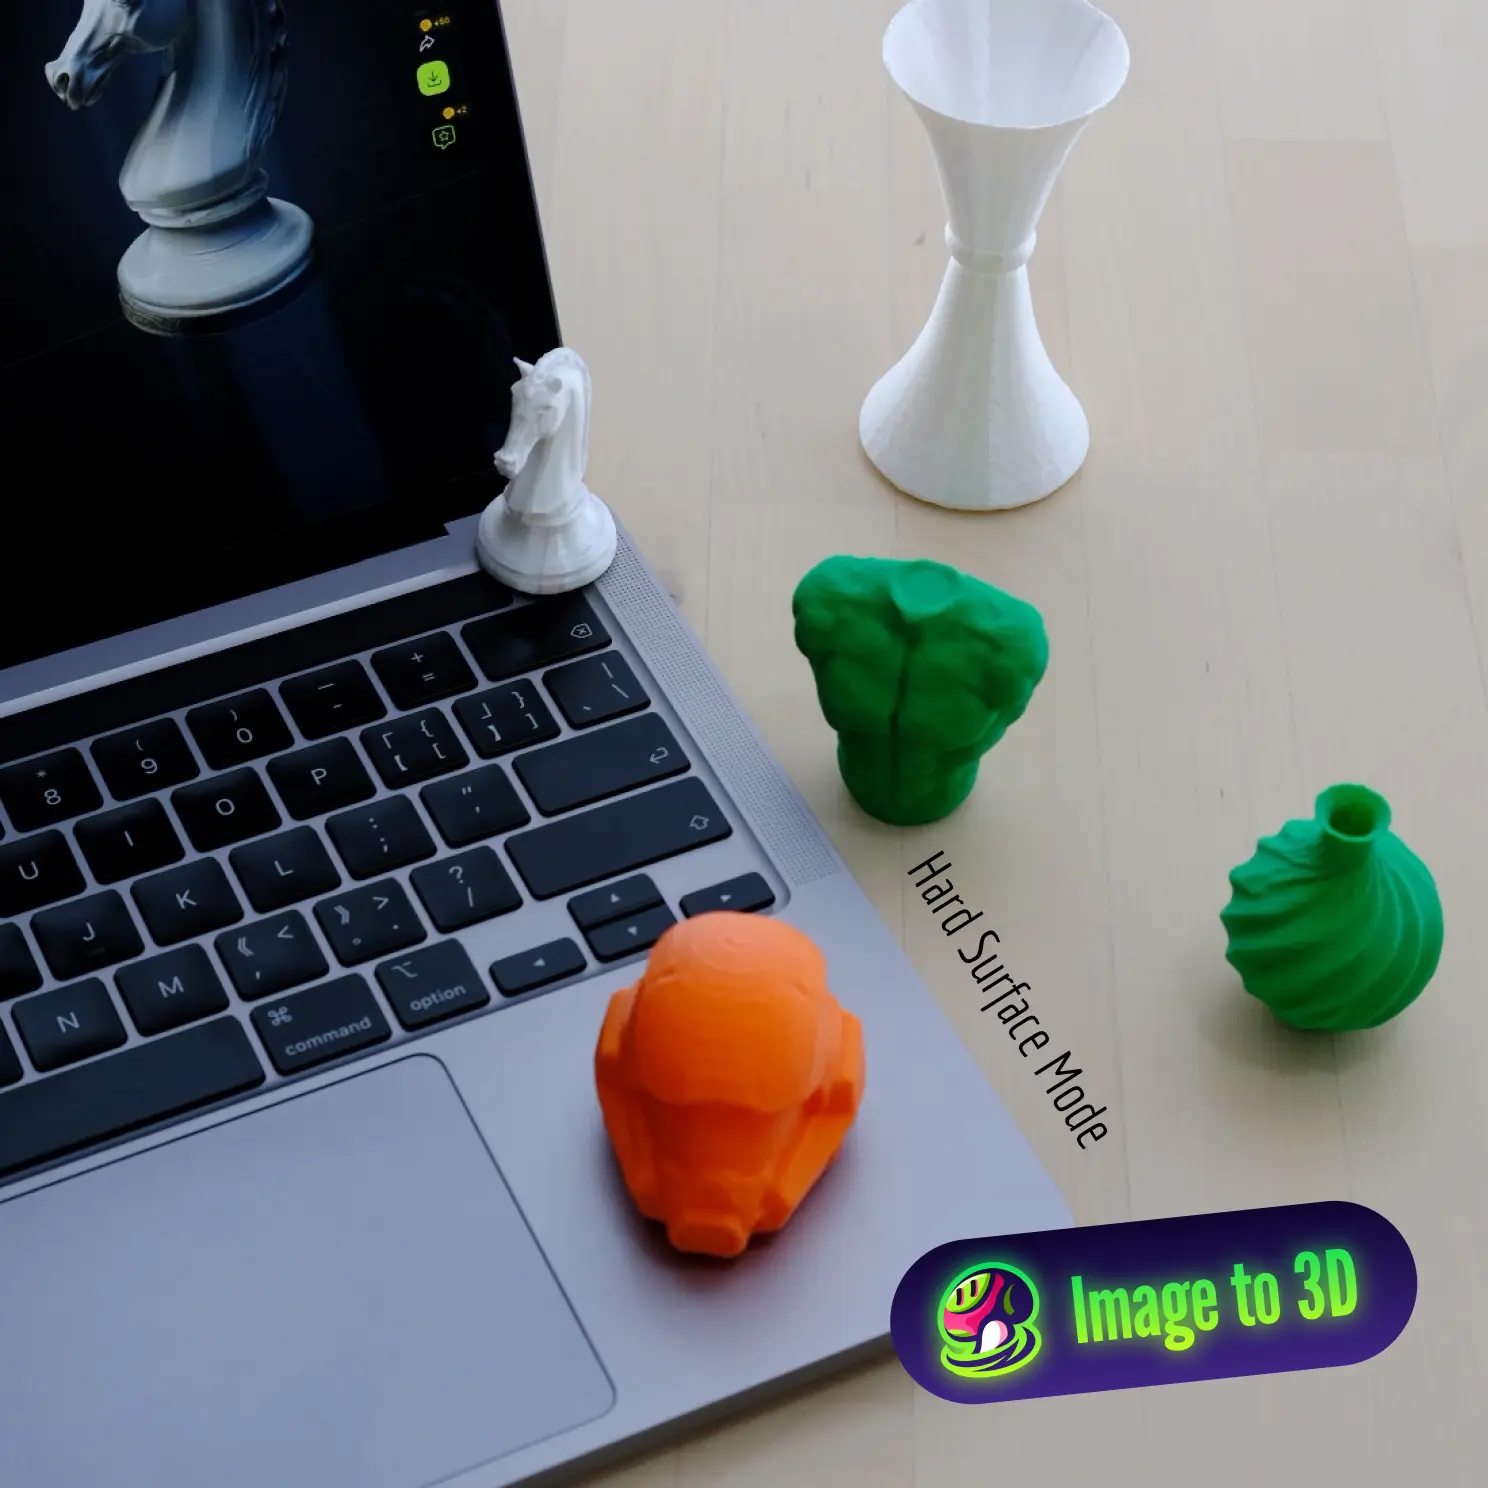
How to Prepare Models for 3D Printing?
The next step is to bring it into the physical world through 3D printing. Here's how you can prepare your model for 3D printing, using the BambuLab P1S as an example:
Step 5: Import the 3D model into BambuStudio. This powerful software is designed to optimize your model for 3D printing.
Step 6: Use BambuStudio to create auto supports. These supports are essential for ensuring that complex parts of your model print correctly. You can also adjust the filament settings to match your printer and material preferences.
Step 7: Finally, click the "Slice Plate" button to slice your model into printable layers and send the print job to your 3D printer.
Ready to transform your 2D images into 3D masterpieces? Get started with Meshy today and bring your creative visions to life!
Follow Meshy
If you're interested in exploring more about Meshy, check out our social media platforms. Learn how AI 3D model generators can transform your creative workflow:
- Subscribe to our YouTube channel for the latest tutorials.
- Follow us on Twitter for news, tips, and inspiration.
- Join our Discord community to connect with other 3D artists.