Many of you have likely been using Meshy-5 for a while and noticed significant feature improvements. To help you get the most out of Meshy-5's powerful capabilities, we've put together a set of practical tips. Whether you're just getting started or looking to improve your results, these insights will help you create high-quality 3D models more efficiently.
Meshy-5 Preview Is Here — Let's Dive Into the New Features
As one of the latest model releases, Meshy-5 has been widely adopted for game character creation, 3D animation, and even high-detail model generation. However, many users have reported instability, hollow outputs, and incomplete structures.
In an effort to reduce errors and help users fully leverage Meshy-5's capabilities, we've compiled a set of best practices for the image-to-3D feature. We've also included helpful tips for working with text-to-3D models.
Meshy-5 Image to 3D Tips
1. Start with High-Quality Images
Use high-resolution images whenever possible. Experiment with:
- AI-generated art
- Digital illustrations
- Real photographs
- Hand-drawn sketches
The quality and clarity of the source image have a significant impact on the final 3D model.
2. Use a Plain Background
Use the Meshy background remover or start with an image that has a plain background. This helps Meshy focus on the primary object during generation.
3. Ensure the object is well-lit and clearlu and clean
Choose images that:
- Show the entire object clearly
- Are well-lit and clean
- Contain some visual depth information (ideal but not mandatory)
Meshy can also work with flat 2D art and sketches in many cases.
4. Clean Up Less-Than-Ideal Images
If you're starting with a less-than-ideal image, consider cleaning it up first using other tools. For example, you can quickly ask GPT-4o to help modify and enhance your image for better results with Meshy.
Here's a prompt you can try when you upload the image to GPT-4o:
"tidy up my image, improving contrast, clarity, and sharpness and removing the background in preparation for use in Image to 3D AI generation, while retaining the details and general look"
5. Use Front-facing Images for Characters
For best results with characters, start with a front-facing image in a neutral pose.
You can later re-pose the model using Meshy's auto-rigging and animation feature (available on Pro and higher plans).
6. Experiment with Obejct Views
For object images, try experimenting with both profile and perspective views to explore different results.
7. Focus on Individual Terrain Chunks
For terrain, use images of individual "chunks" with clearly defined edges. Examples include:
- A cliff wall
- A mountain peak
- A pile of snow-covered rocks
You can later combine these chunks in software like Unity or Blender to build a full environment.
8. Consider a hybrid approach
Generate 2D images using text-to-image tools first, then use Meshy's Image to 3D feature to convert those into 3D models. This can be particularly effective for complex or unusual concepts.
9. Generate Multiple Versions
Run the same image through Meshy-5 multiple times. Each iteration may produce slightly different results, and you might find a vastly improved outcome by experimenting. This is common across many AI tools—don't assume the very first output is the best possible!
10. Explore and Iterate.
The creative process with Meshy-5 often rewards experimentation and small adjustments!
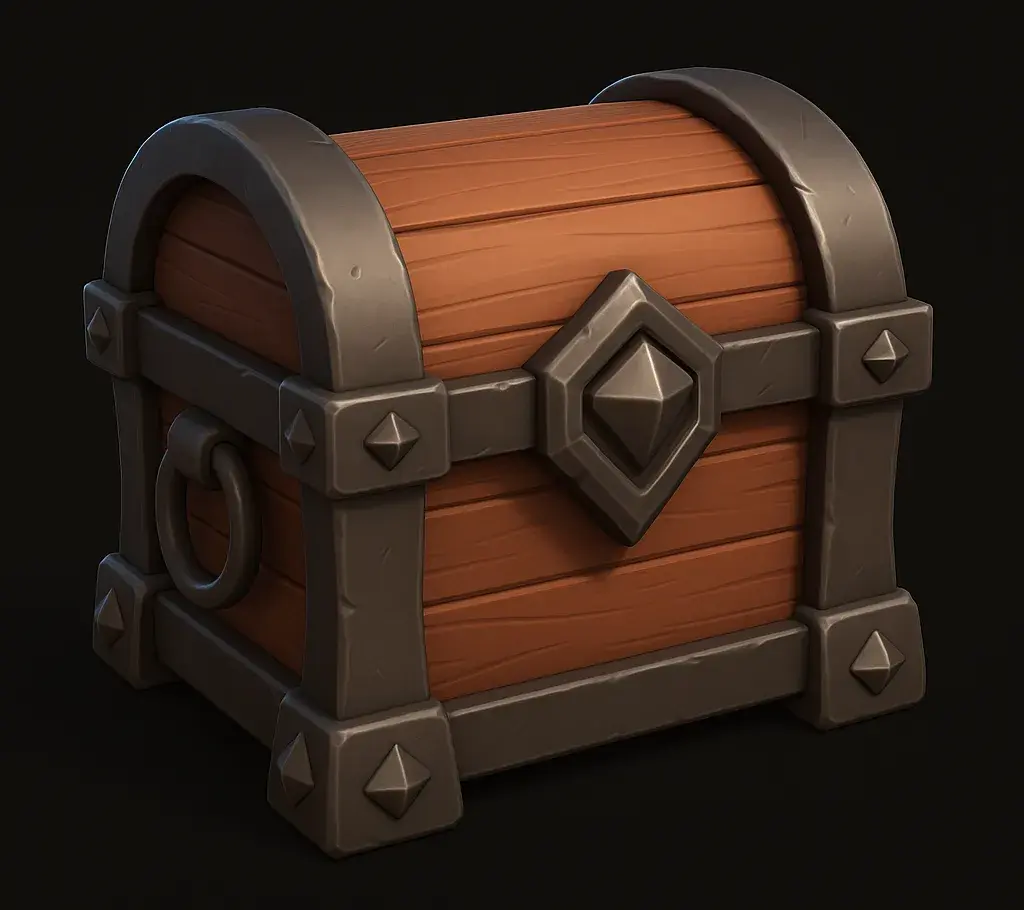
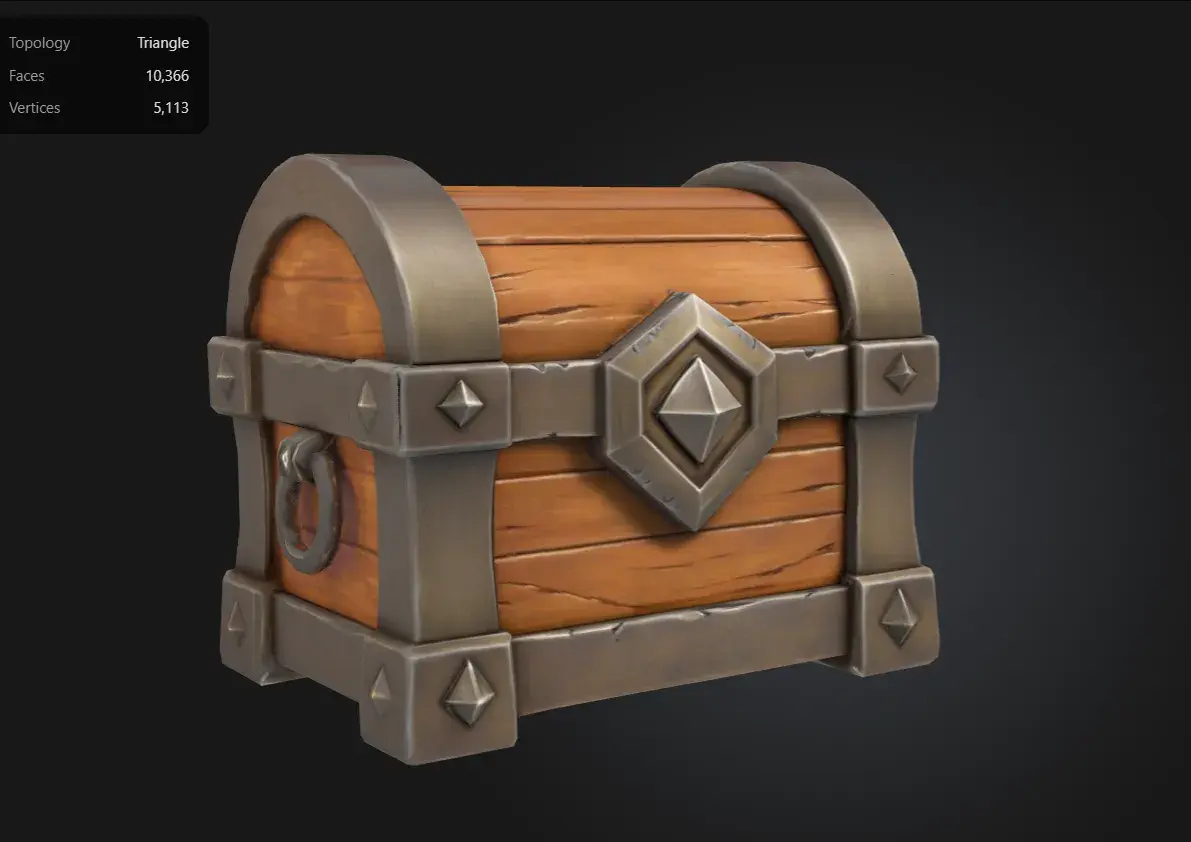
Examples of Good Images for Images to 3D
- The image should be high-resolution, front-facing, and clearly show the structure.
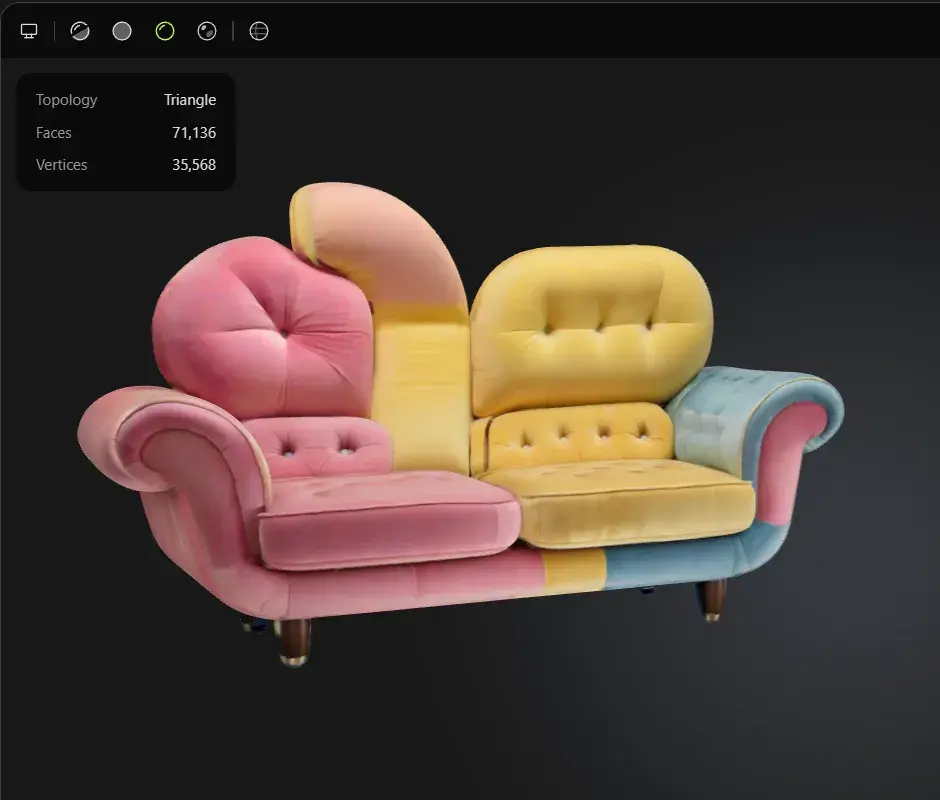
- A background-free image is preferred, as it helps highlight the model's details and improves overall visual clarity.
Things to Avoid for Image to 3D
- Low-resolution images — Aim for images over 1040x1040px for best results.
- Multiple separate objects in one image — Meshy works best when focusing on a single, clear subject.
- Blurry or muddy details — Clarity is key; avoid images where the subject is hard to define.
- Text in the image — Text can confuse the model and lead to inaccurate shapes.
- Lack of distinction between object and background — Use images with strong contrast or clear separation.
- Excessive environmental effects — Avoid effects like smoke, fog, magical particles, or anything that obscures the object's form.
- Long hair, fur, or fine hair-like structures — These can be difficult for the model to interpret accurately.
Meshy-4 vs Meshy-5: What's Actually Different?
1. Geometry & Detail
Meshy-5 introduces significant improvements in geometry, especially when it comes to sharp edges and complex structures. It's ideal for users who need intricate shapes or more defined forms in their 3D assets.
2. Texture Quality
While both models generate high-quality textures, Meshy-5 outputs are more relightable and cleaner, making them better suited for real-time engines. Meshy-4 still delivers reliable and visually solid textures across most use cases.
3. Stability & Consistency
Meshy-4 is currently the more stable model, with fewer structural errors and a higher success rate. Meshy-5, being in preview, may occasionally produce broken or hollow results that require manual cleanup.
4. When to Use Each
Use Meshy-4 when you prioritize stability and want consistent, production-ready models. Turn to Meshy-5 when you need higher detail or cleaner textures—and you're okay with a bit of trial and error.
Wrap-Up - Making the Right Choice for Your 3D Workflow
In short, you should always ensure that your 3D model is generated from high-quality, high-resolution images whenever possible. You can also use tools like ChatGPT to optimize your prompts or help refine inputs, such as removing image backgrounds.
By combining well-prepared assets with thoughtful prompt design, you'll get more consistent, cleaner 3D outputs—especially when working with Meshy-5. Whether you're crafting game-ready props or experimenting with stylized designs, a few small tweaks in your workflow can make a big difference. Don't forget to keep testing and iterating—your best model might just be one prompt away.