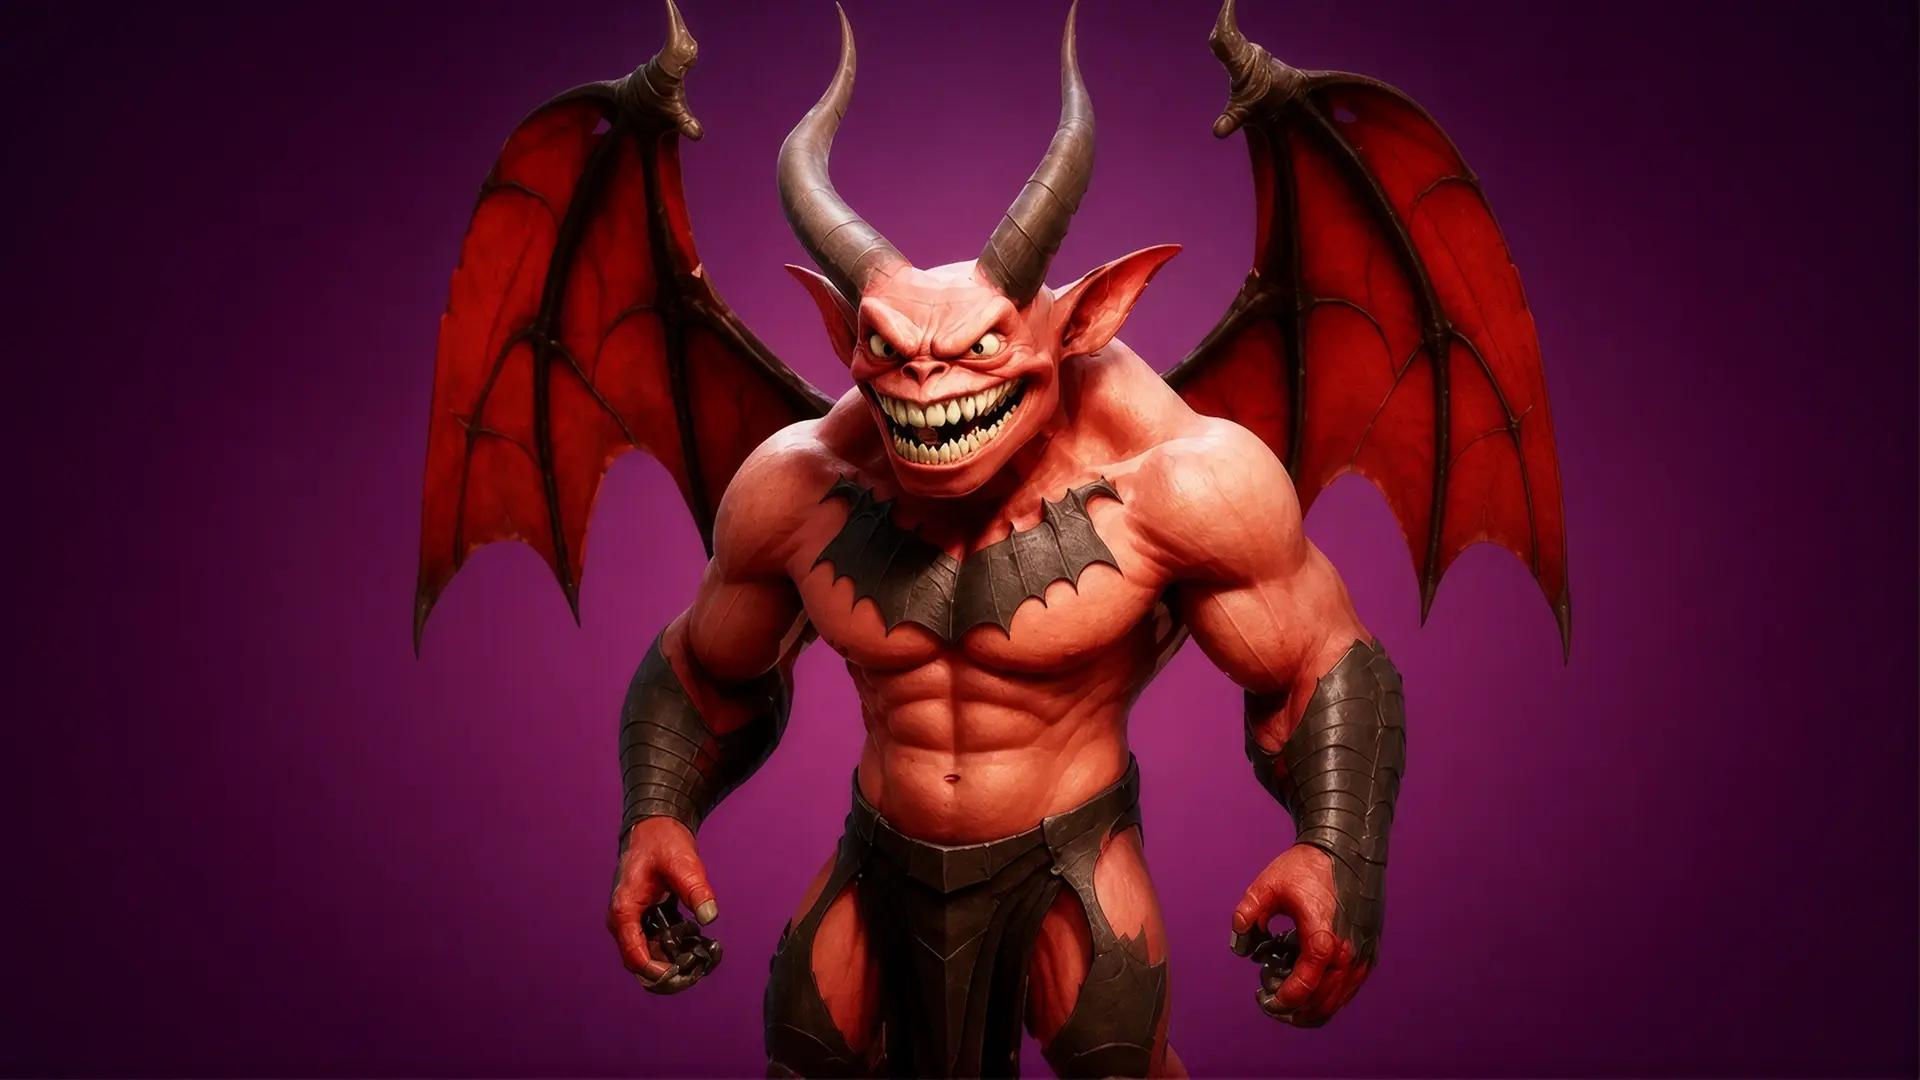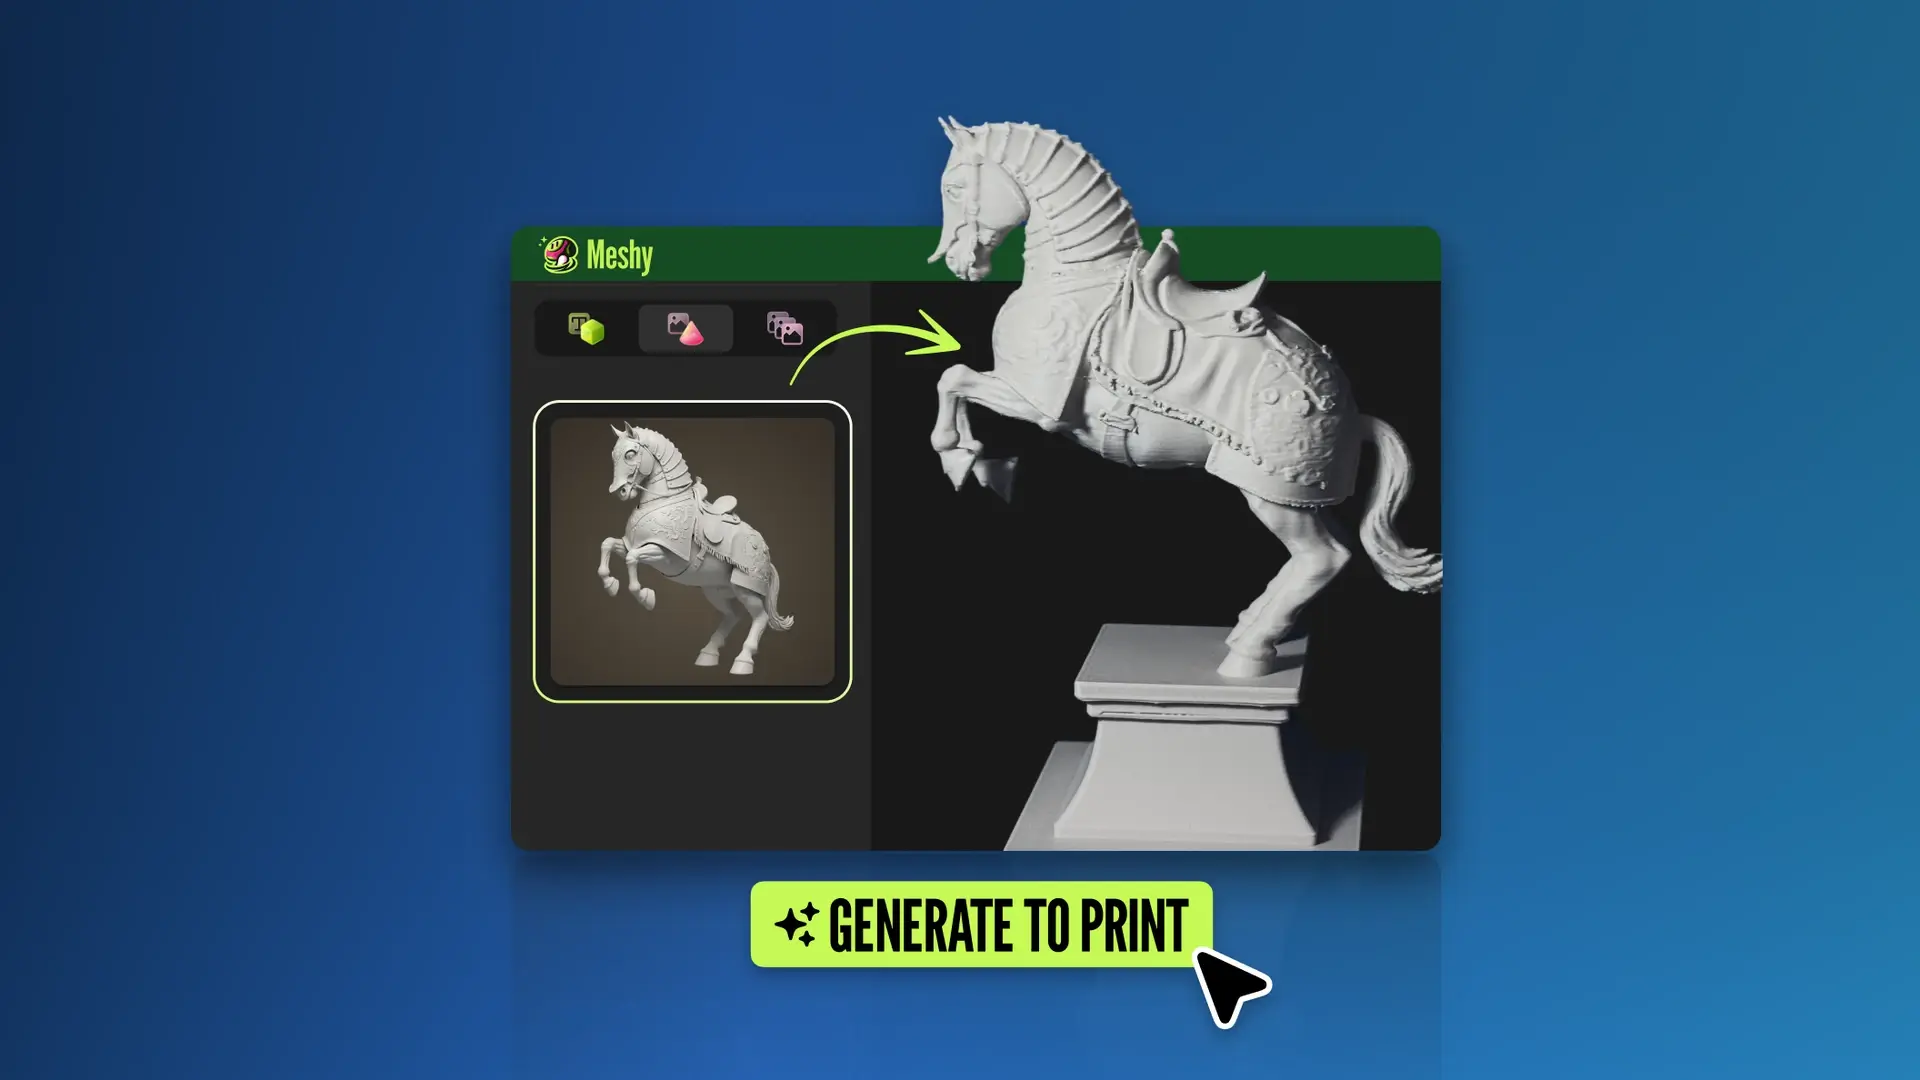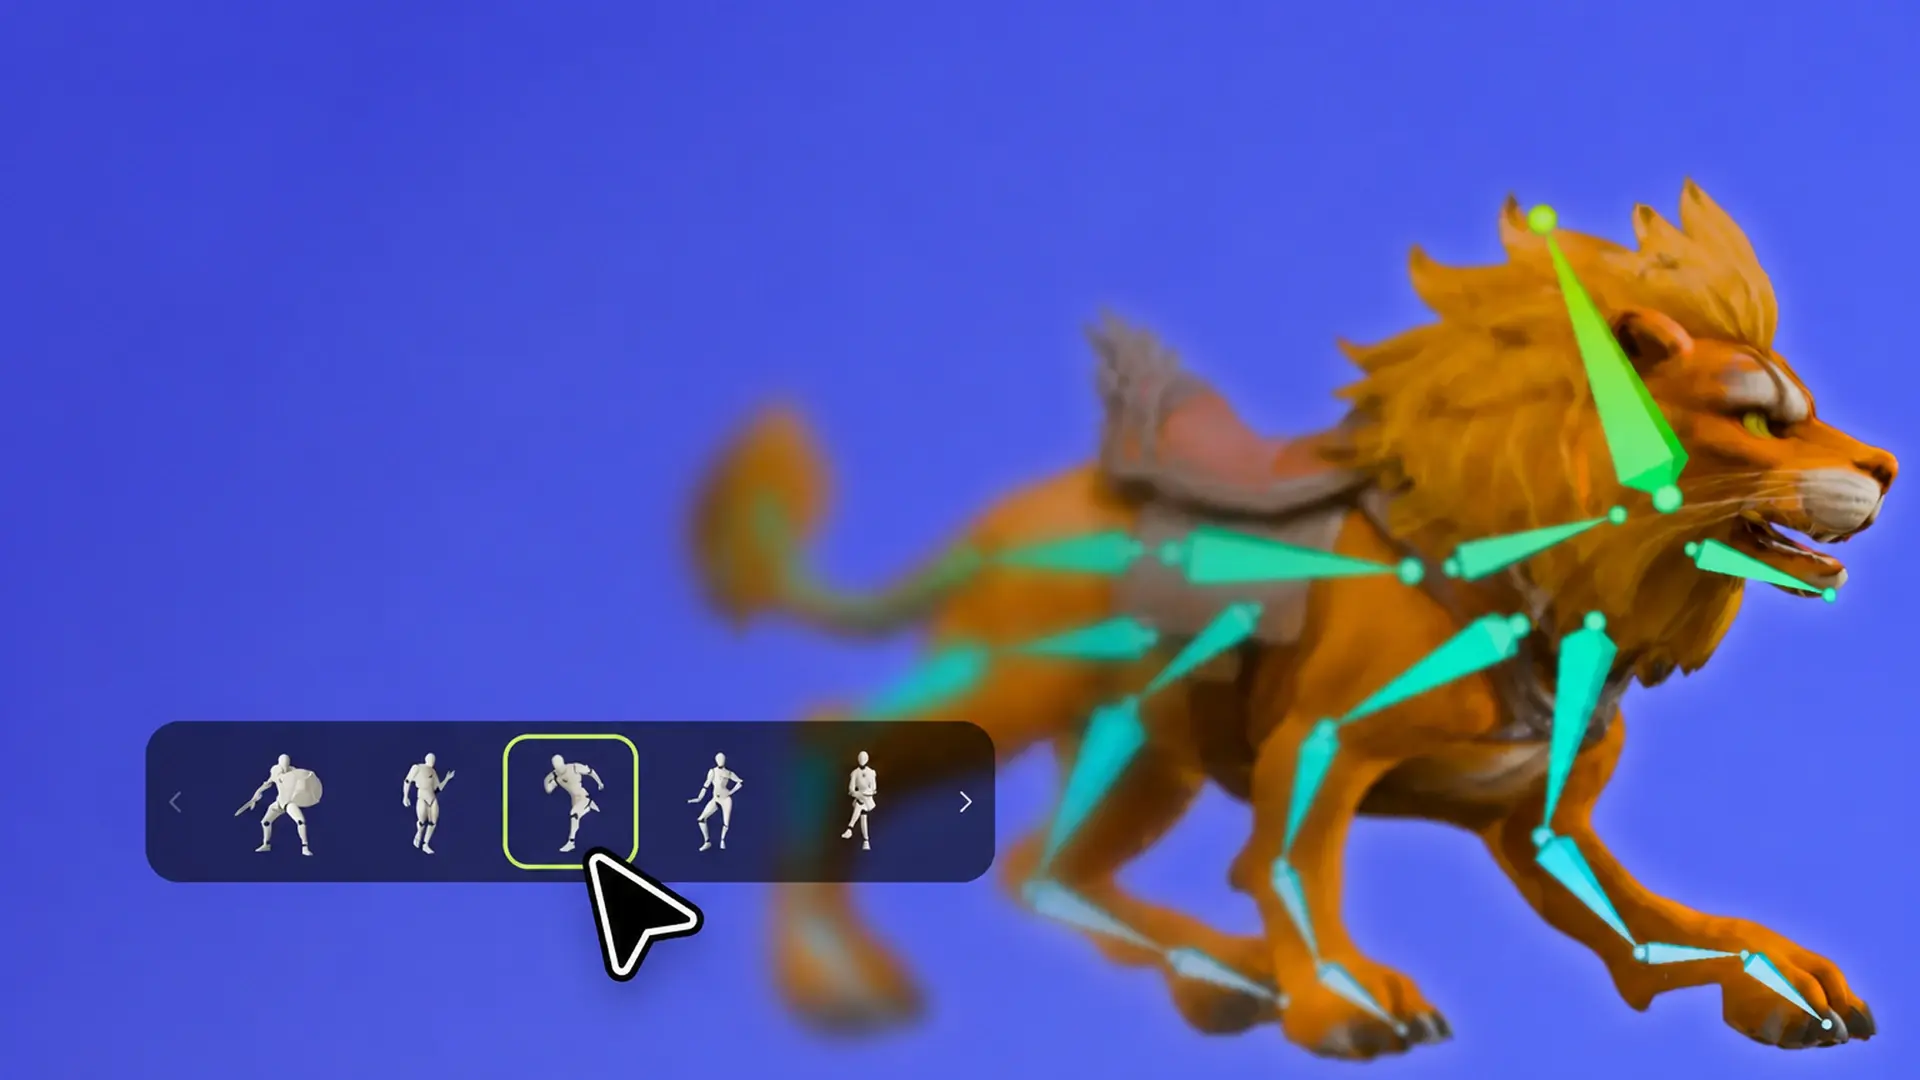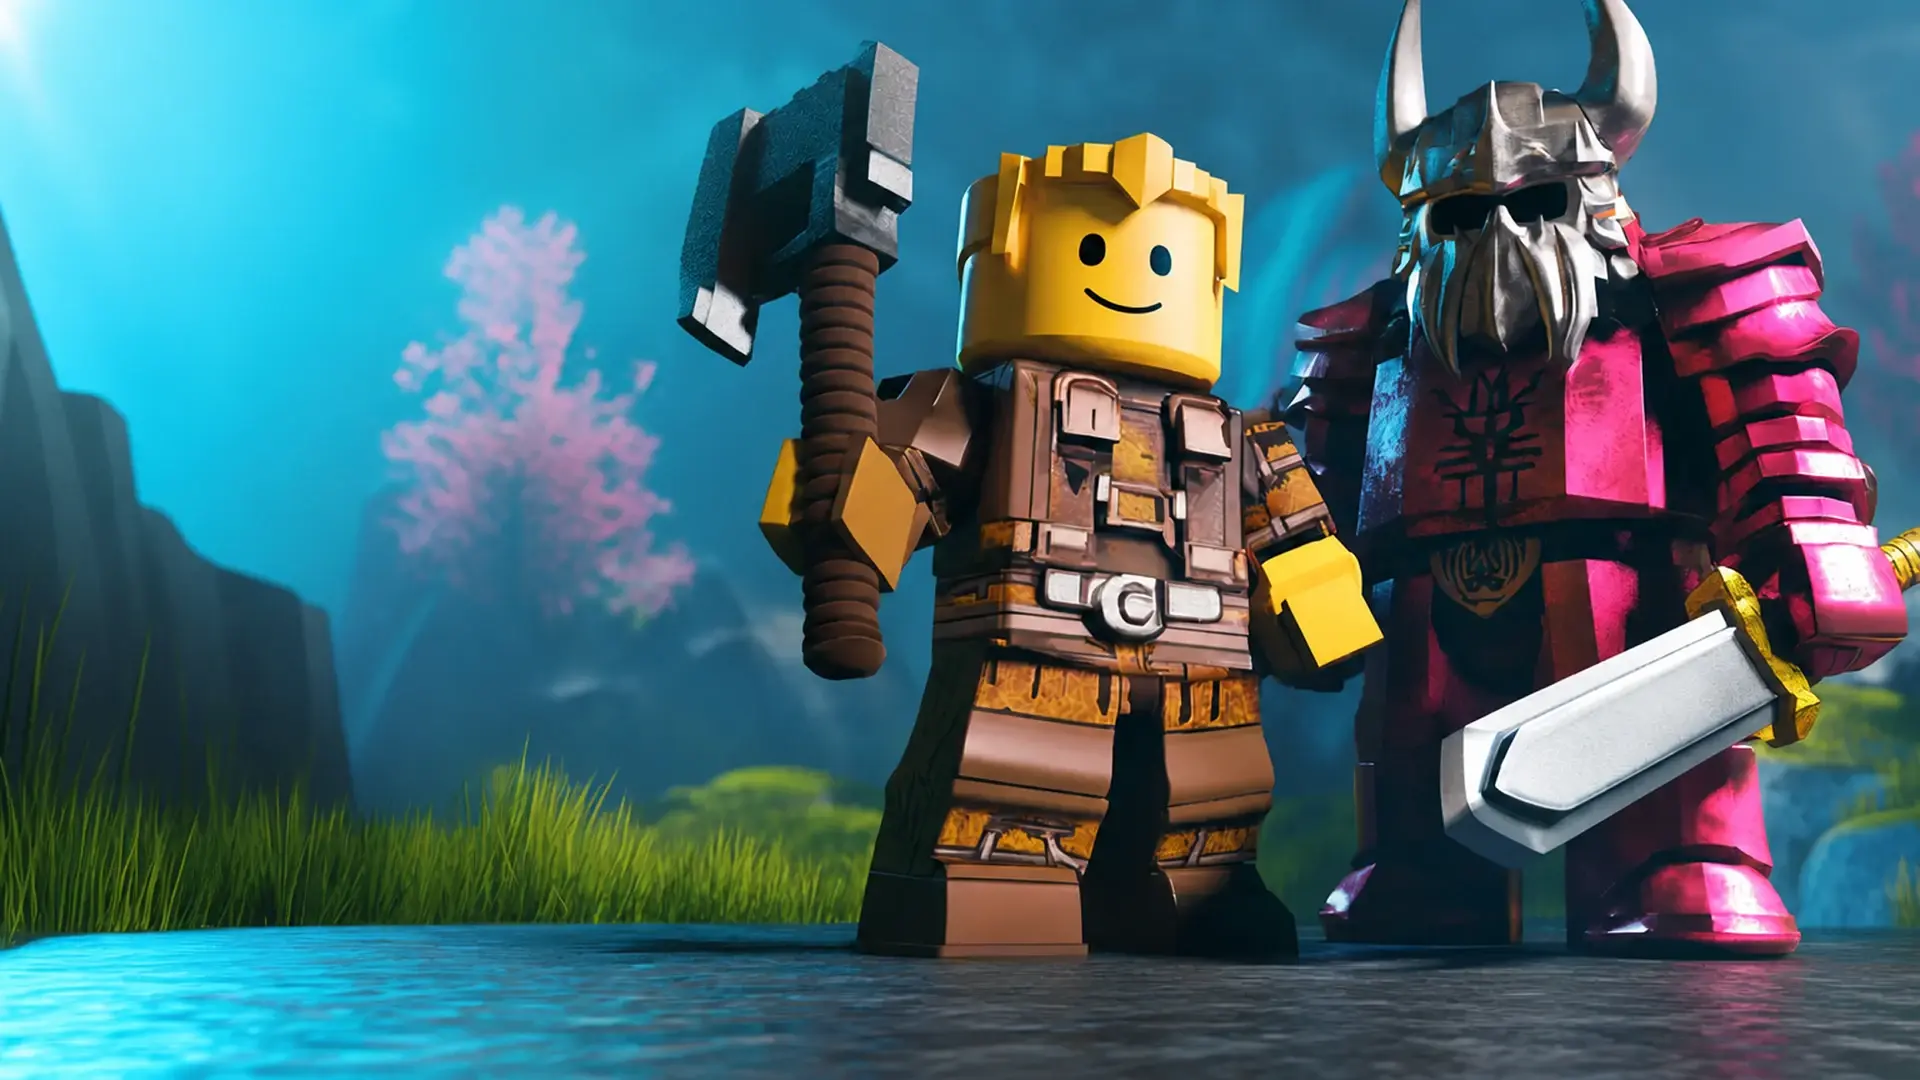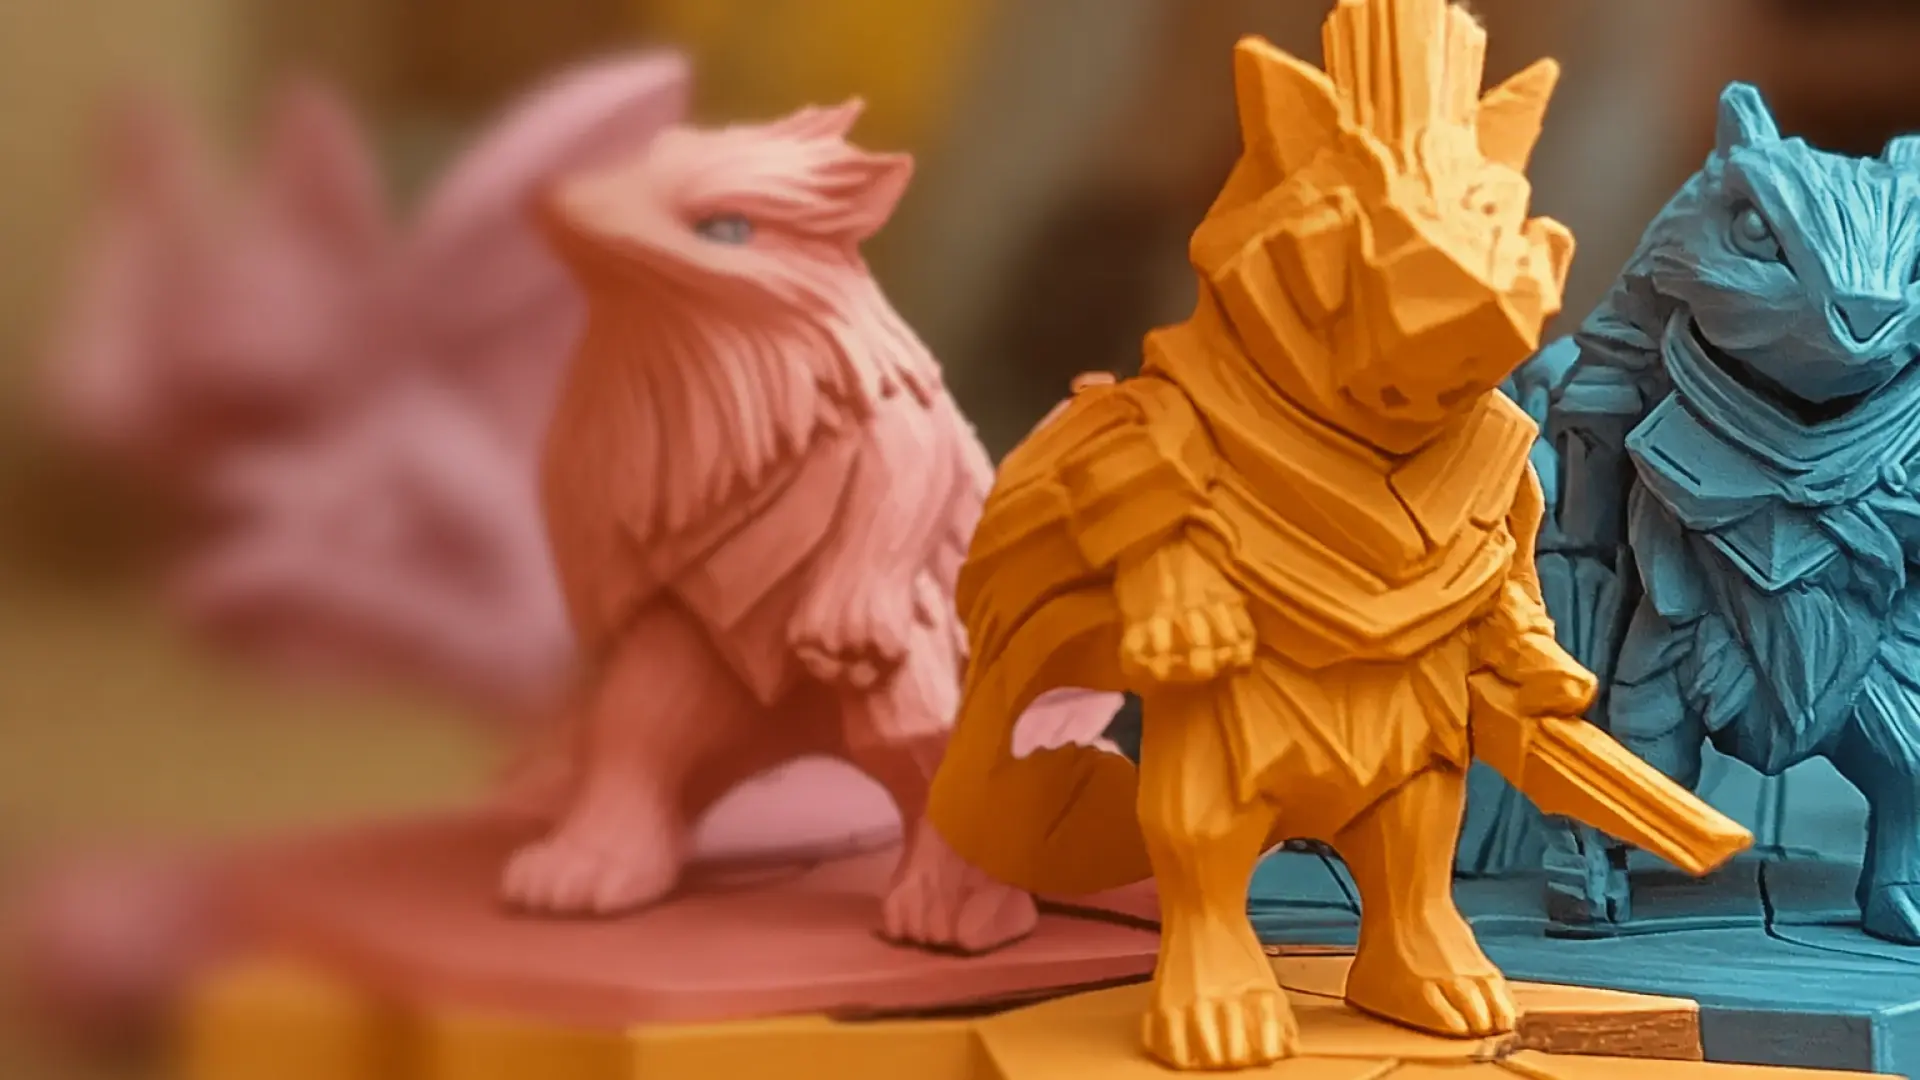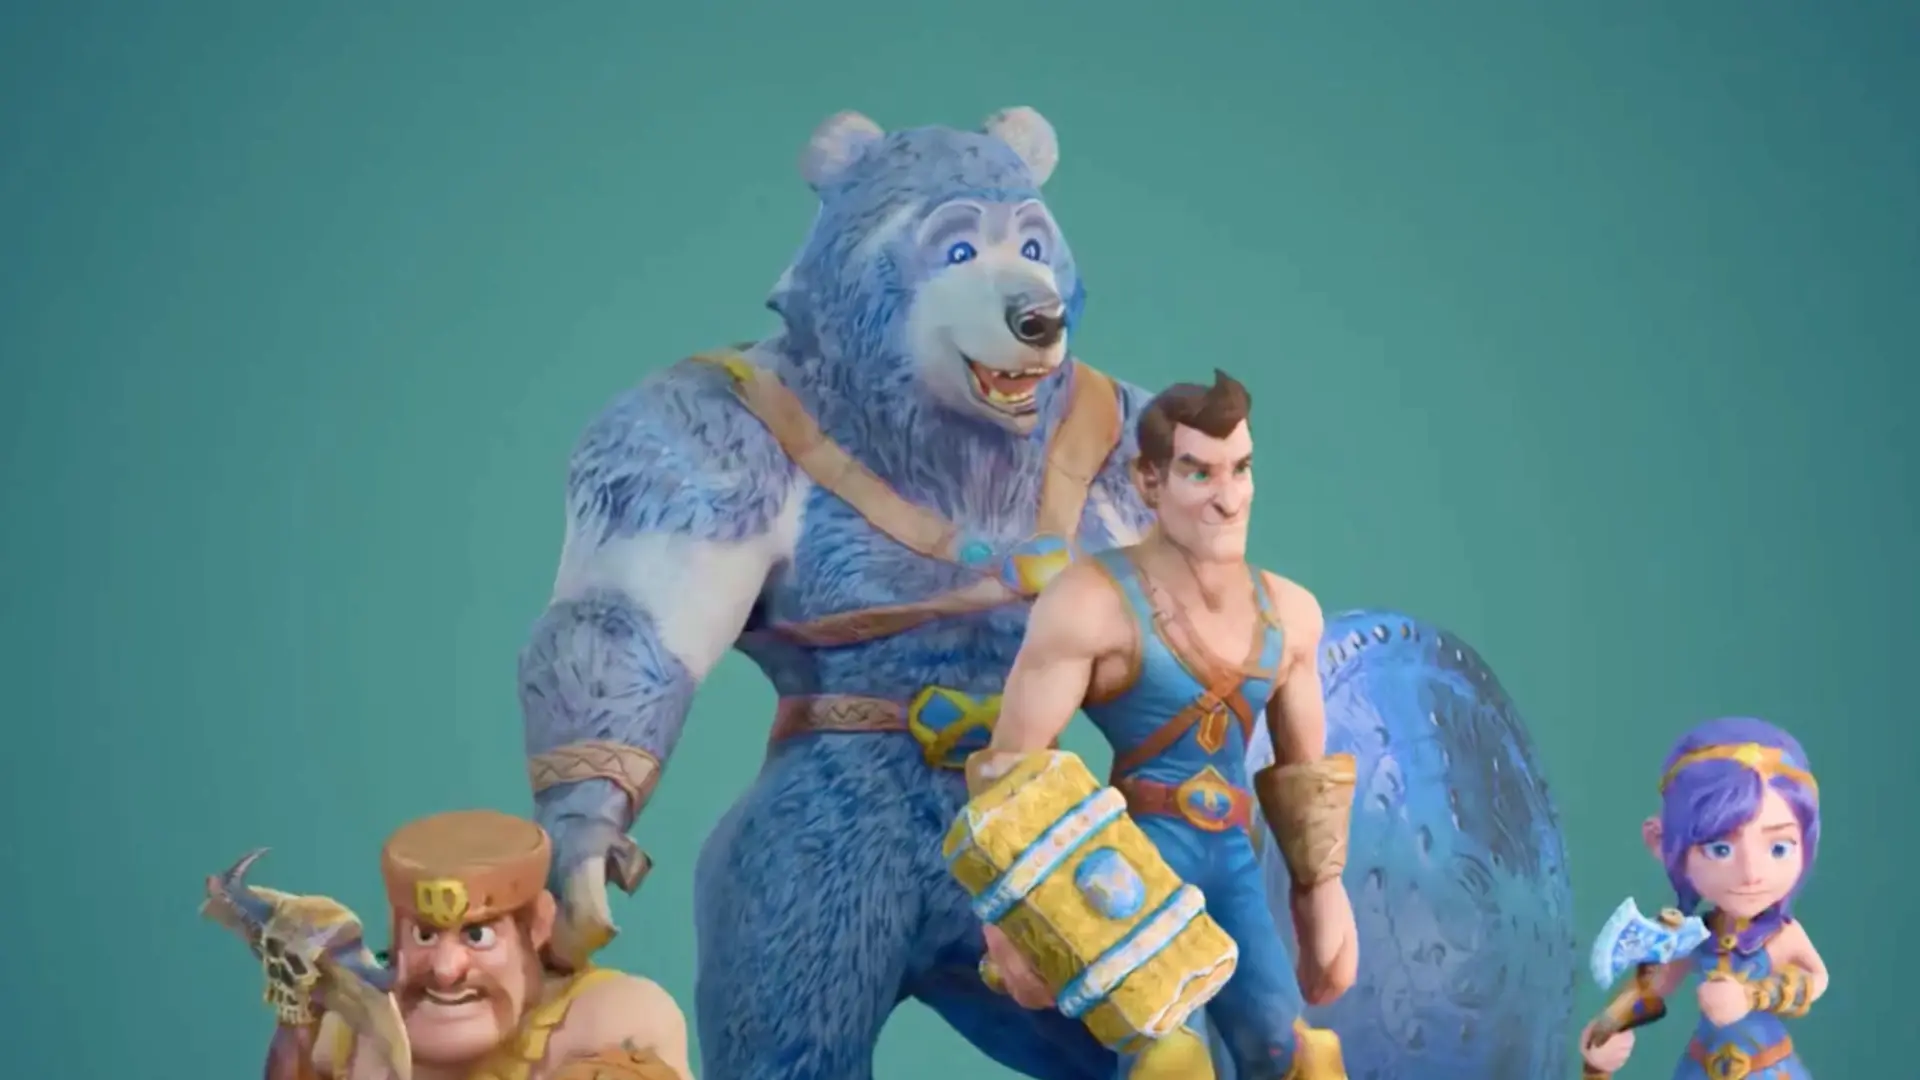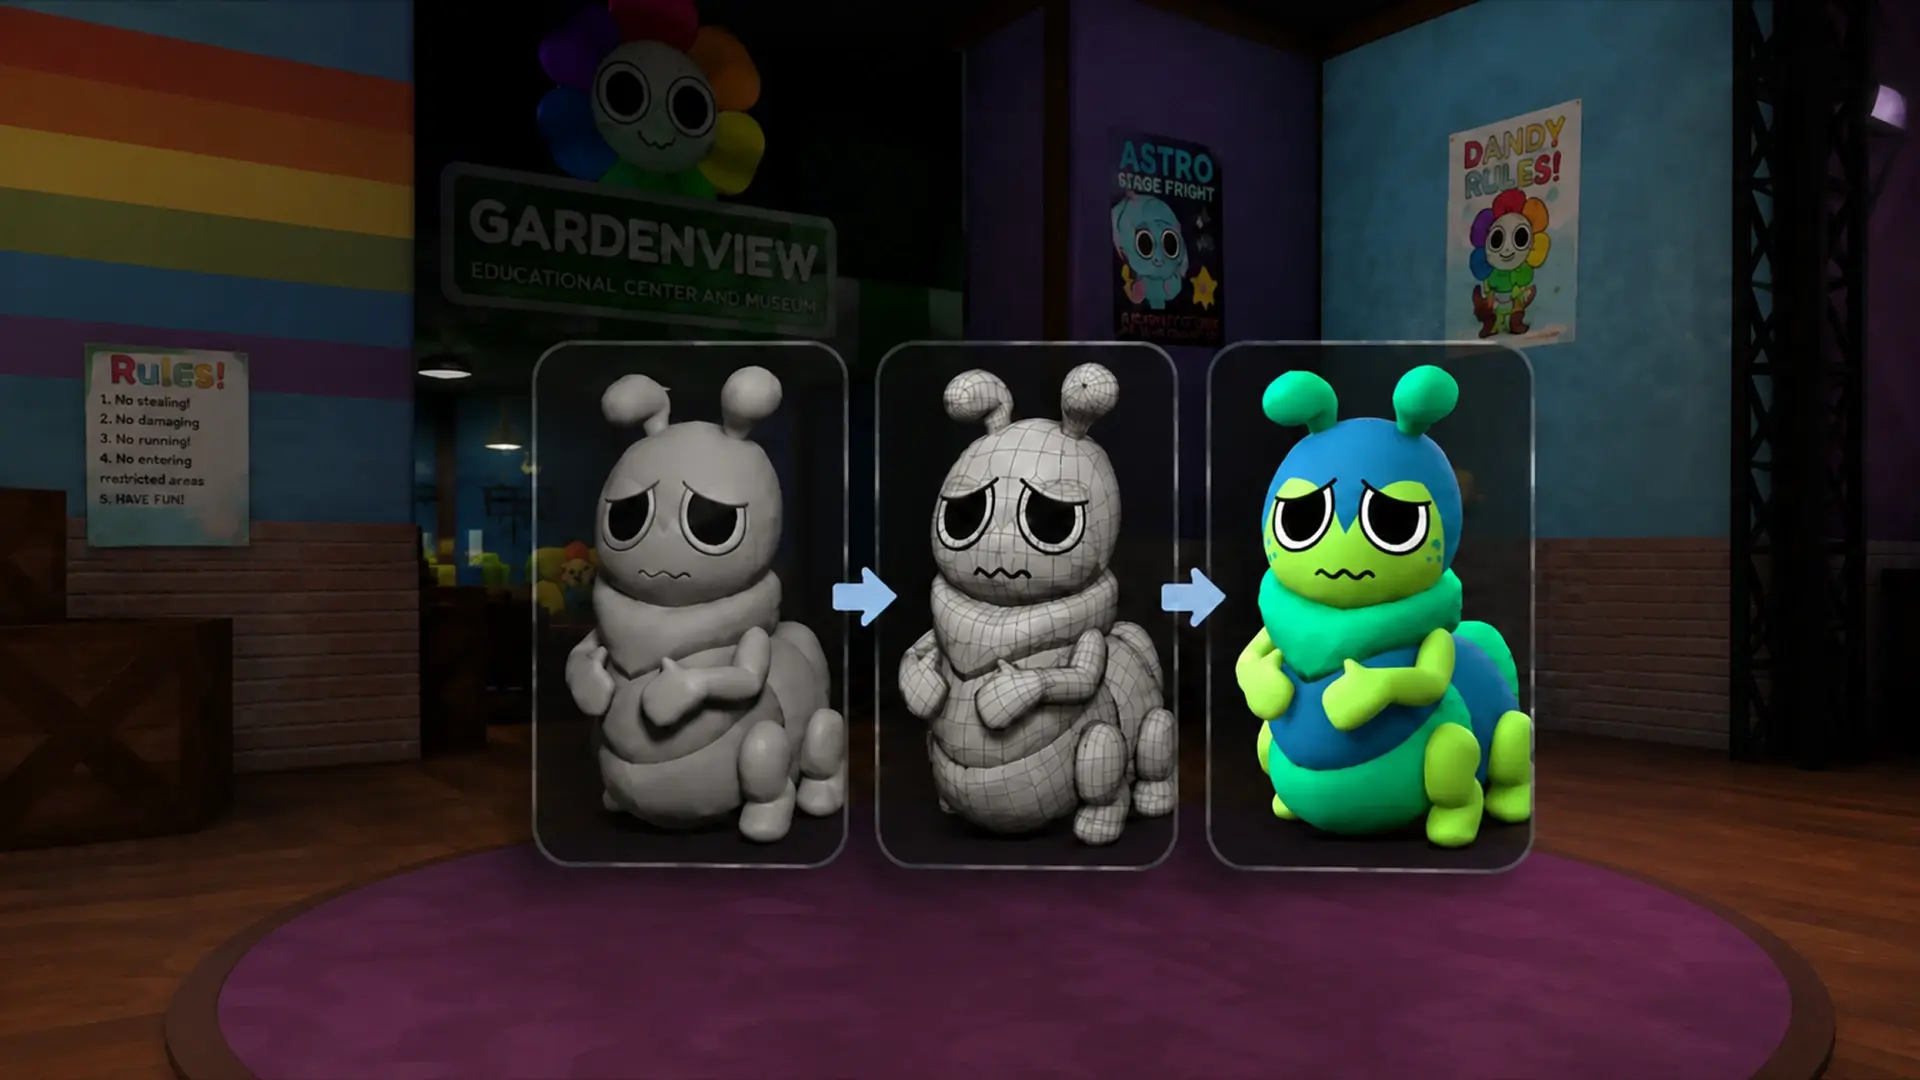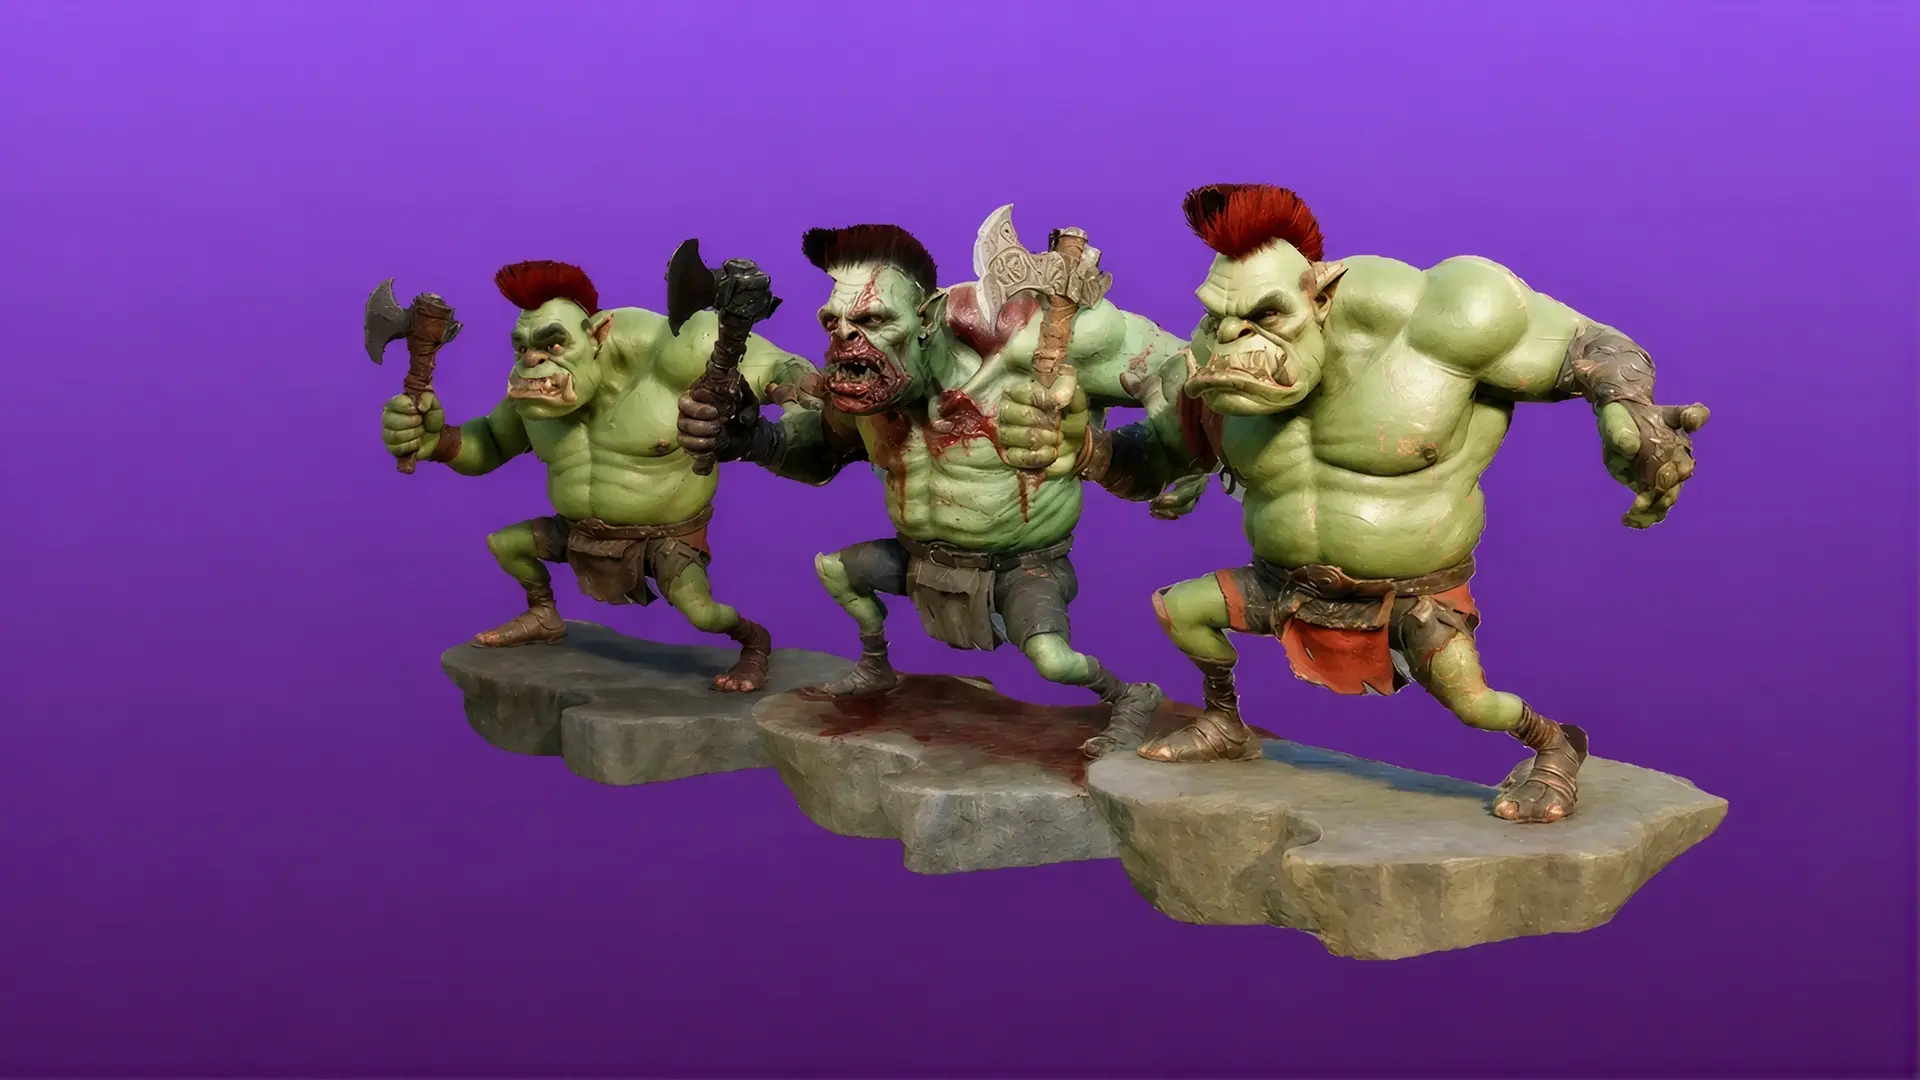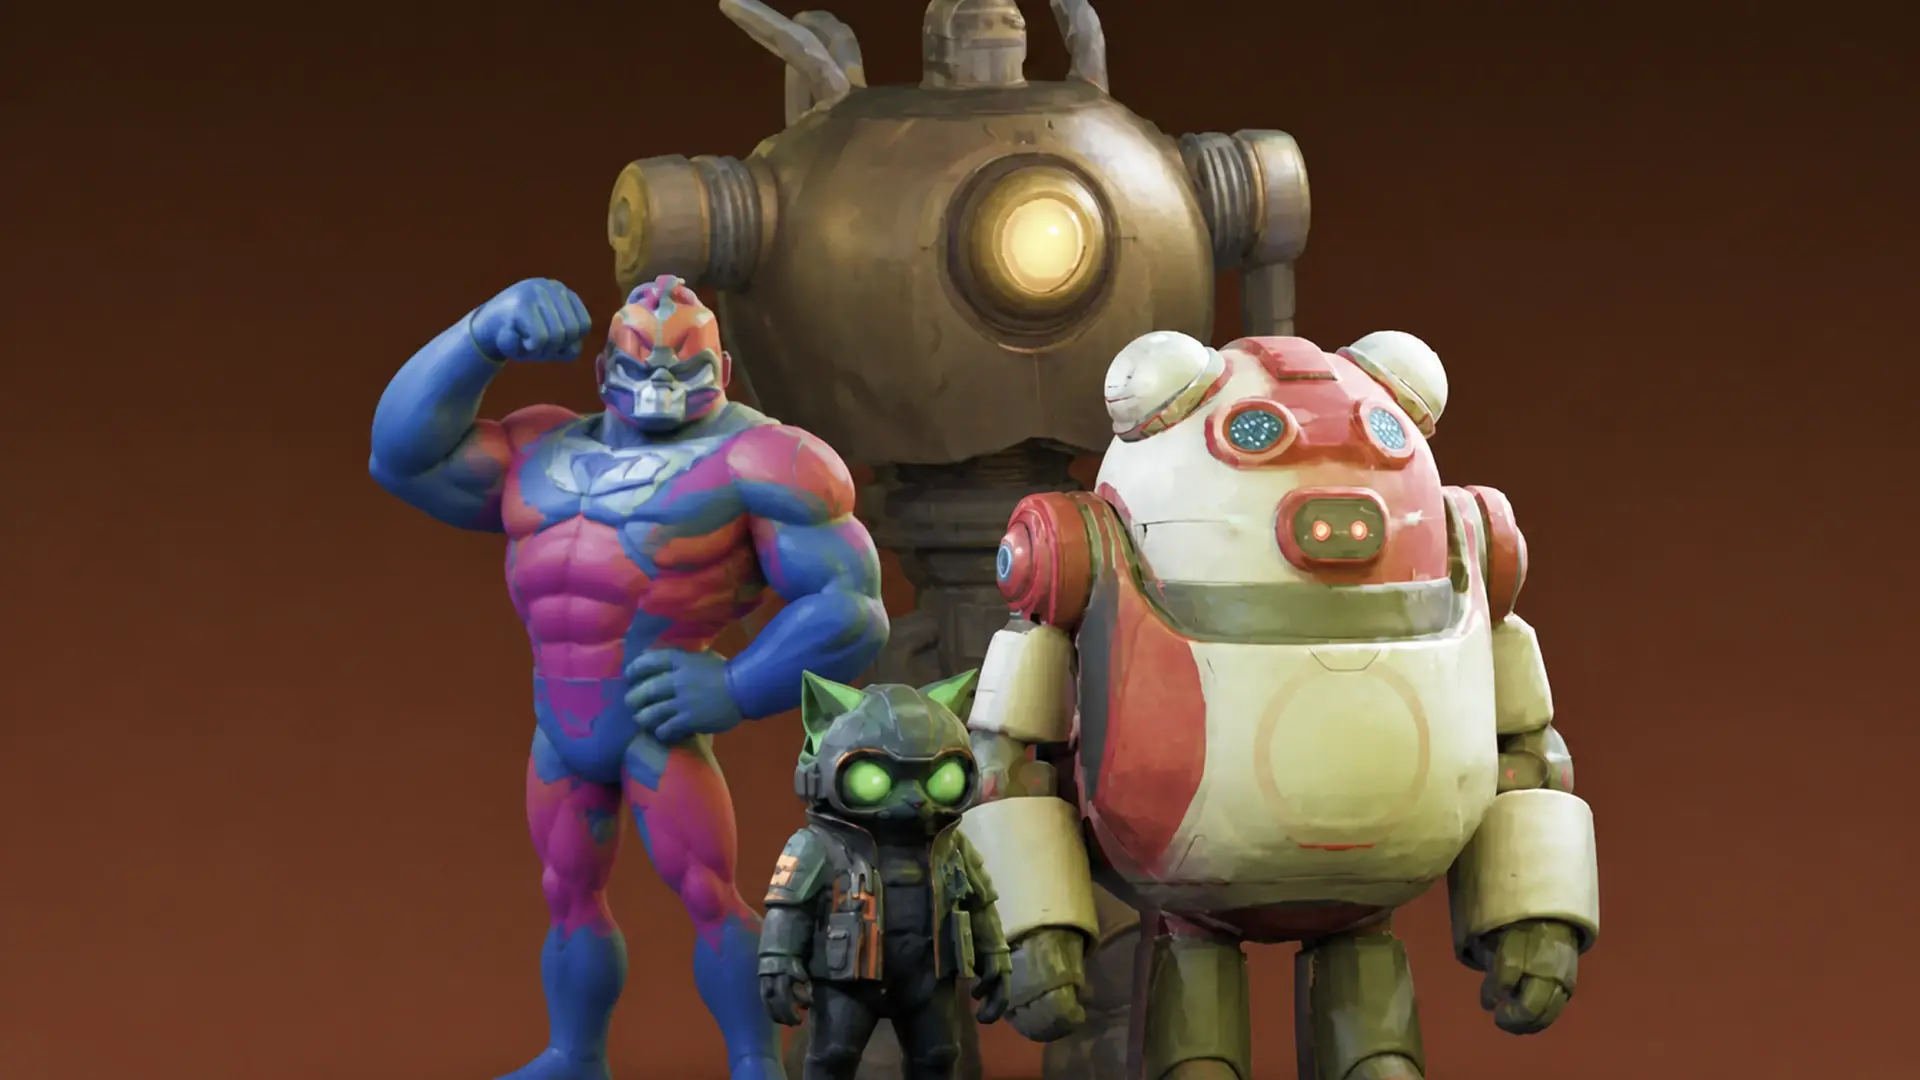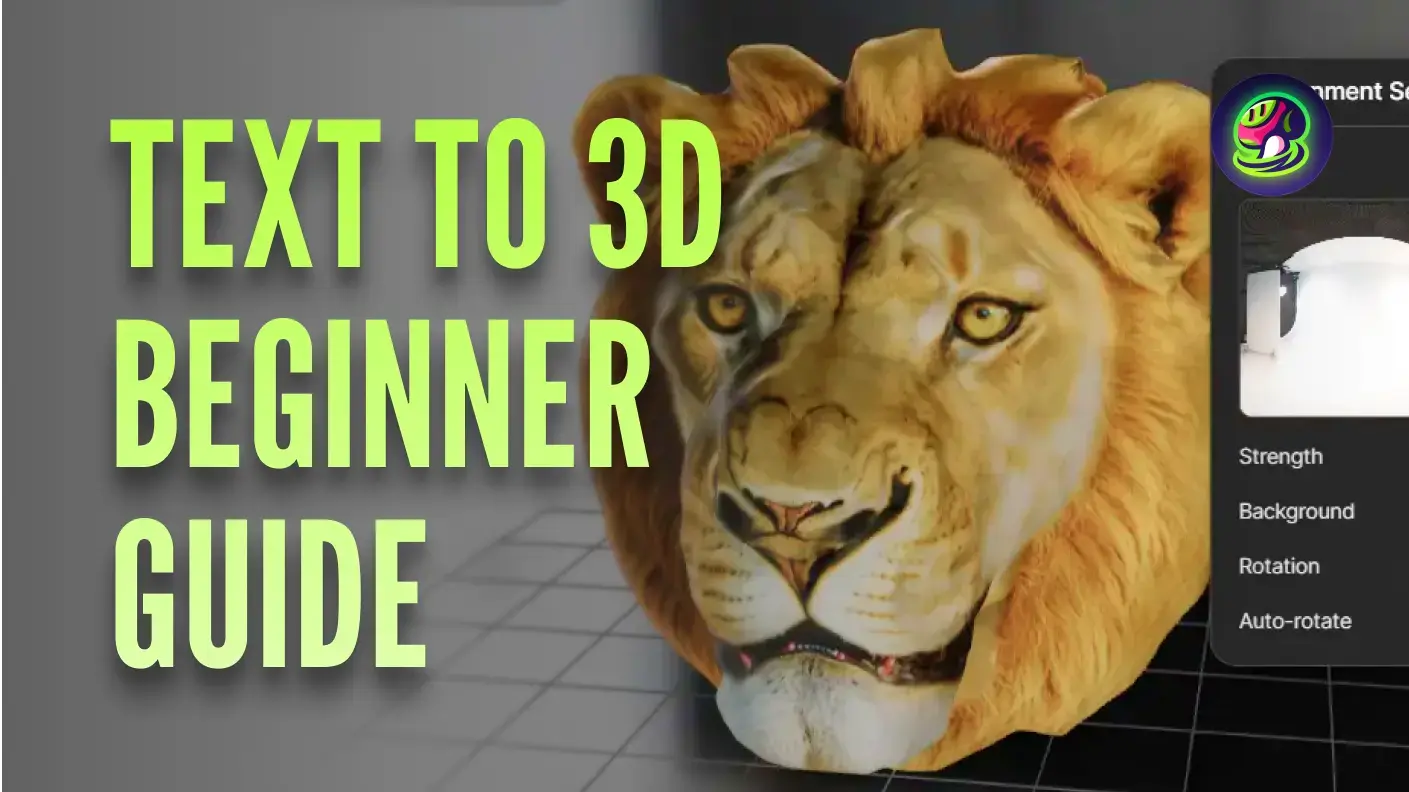
In this guide, we've demonstrated how to create 3D models using Meshy - an advanced AI 3D model generator. This innovative tool allows for text to 3D model conversion, making it easy to create 3D assets from simple descriptions.
Step 1: Go to Text to 3D Workspace
To dive into creating your own designs, simply click on the “Text to 3D” tab on the left sidebar. This is where our free 3d modeling tool comes into play, allowing you to bring your ideas to life with ease.
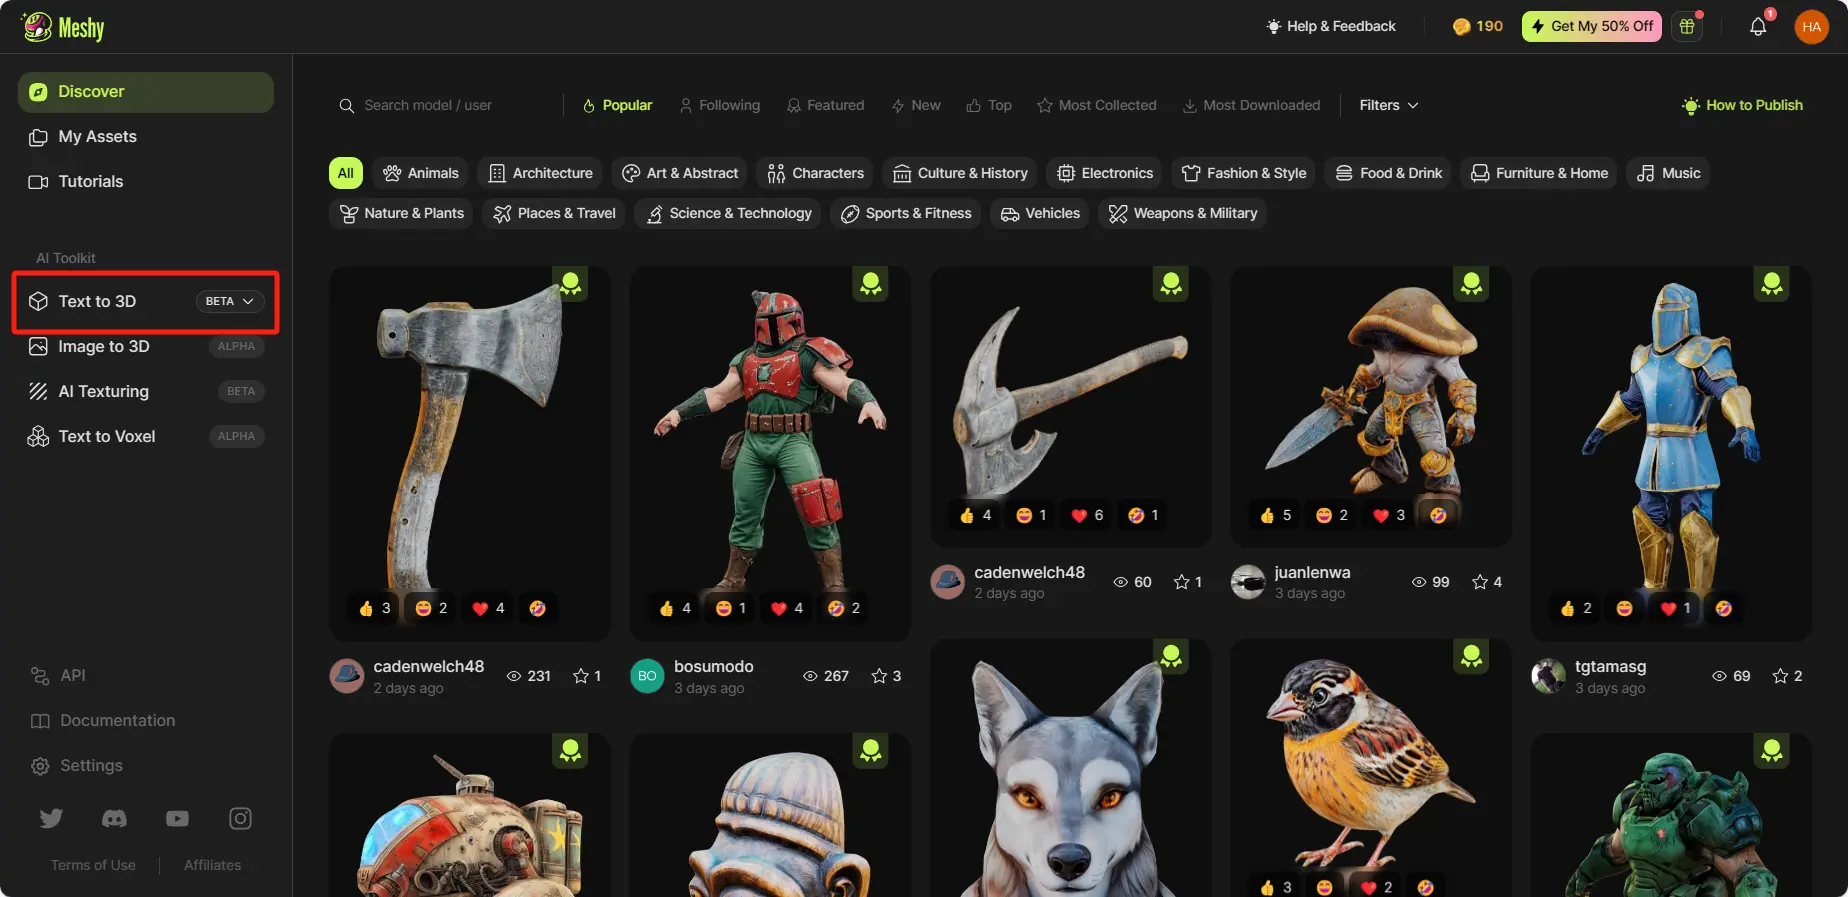 Dashboard
Step 2: Enter Text Prompt
In the prompt box, describe the object you want to generate. Include details about shape, color, size, style, and other attributes. The more specific you are, the better the AI 3D modeling technology can work for you. If you need more inspiration, check out our guide for beginners - 50+ Meshy Keywords to Create Amazing 3D Models.
After typing your prompt, click “Generate”. Your task will appear in the “My Generations” section.
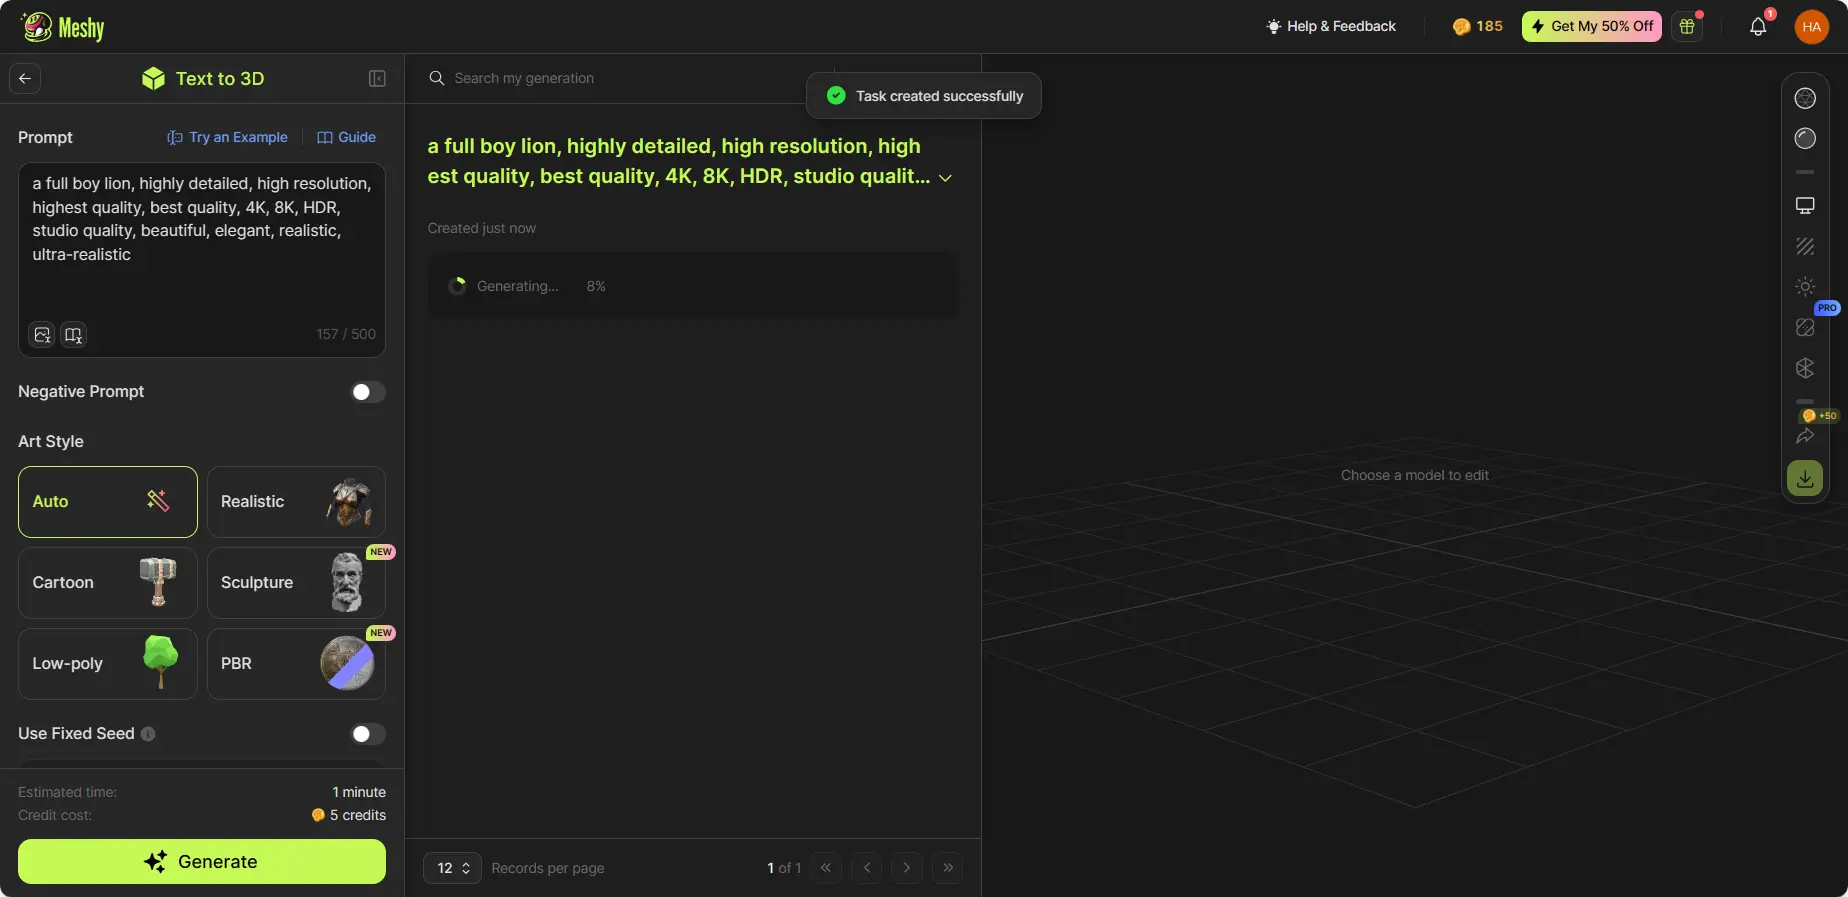 Prompt Formula: Main subject + Style details + Other details
Step 3: Select a Preview Model to Refine
Meshy will return four draft models in a video format. Click “Refine” on any model you like for further refinement. If none of the models are satisfactory, click “Regenerate” to generate a new set.
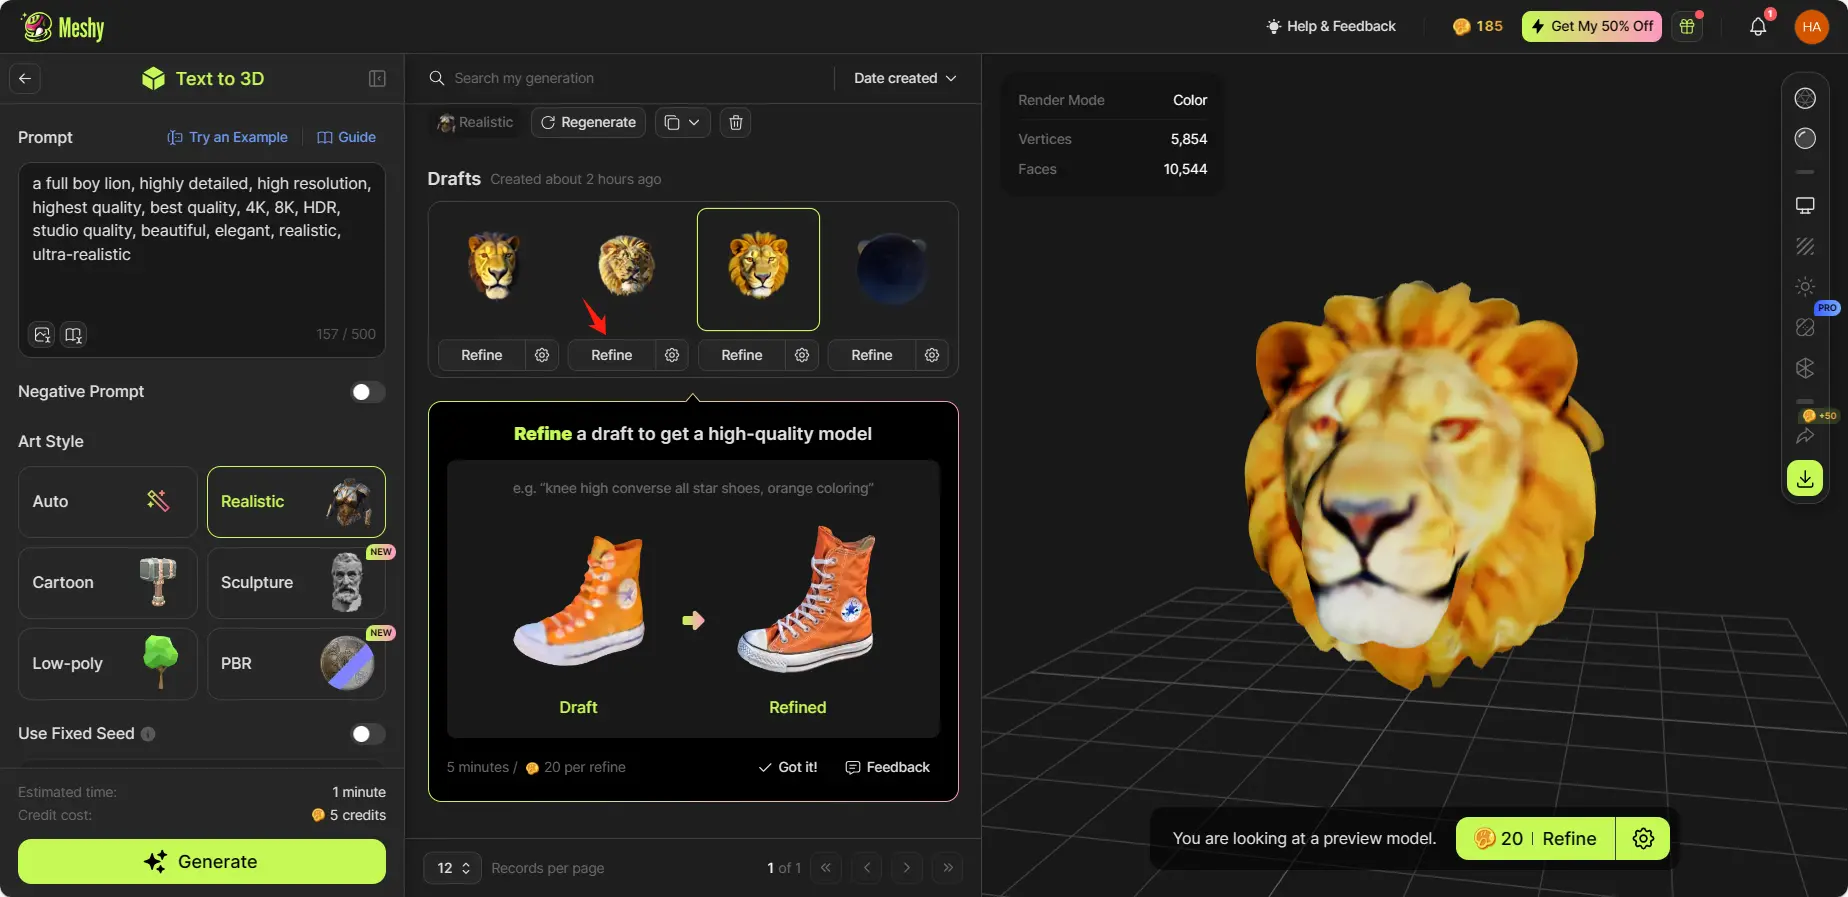 Generate process
Your refined model will appear below the previews. You can refine multiple preview models.
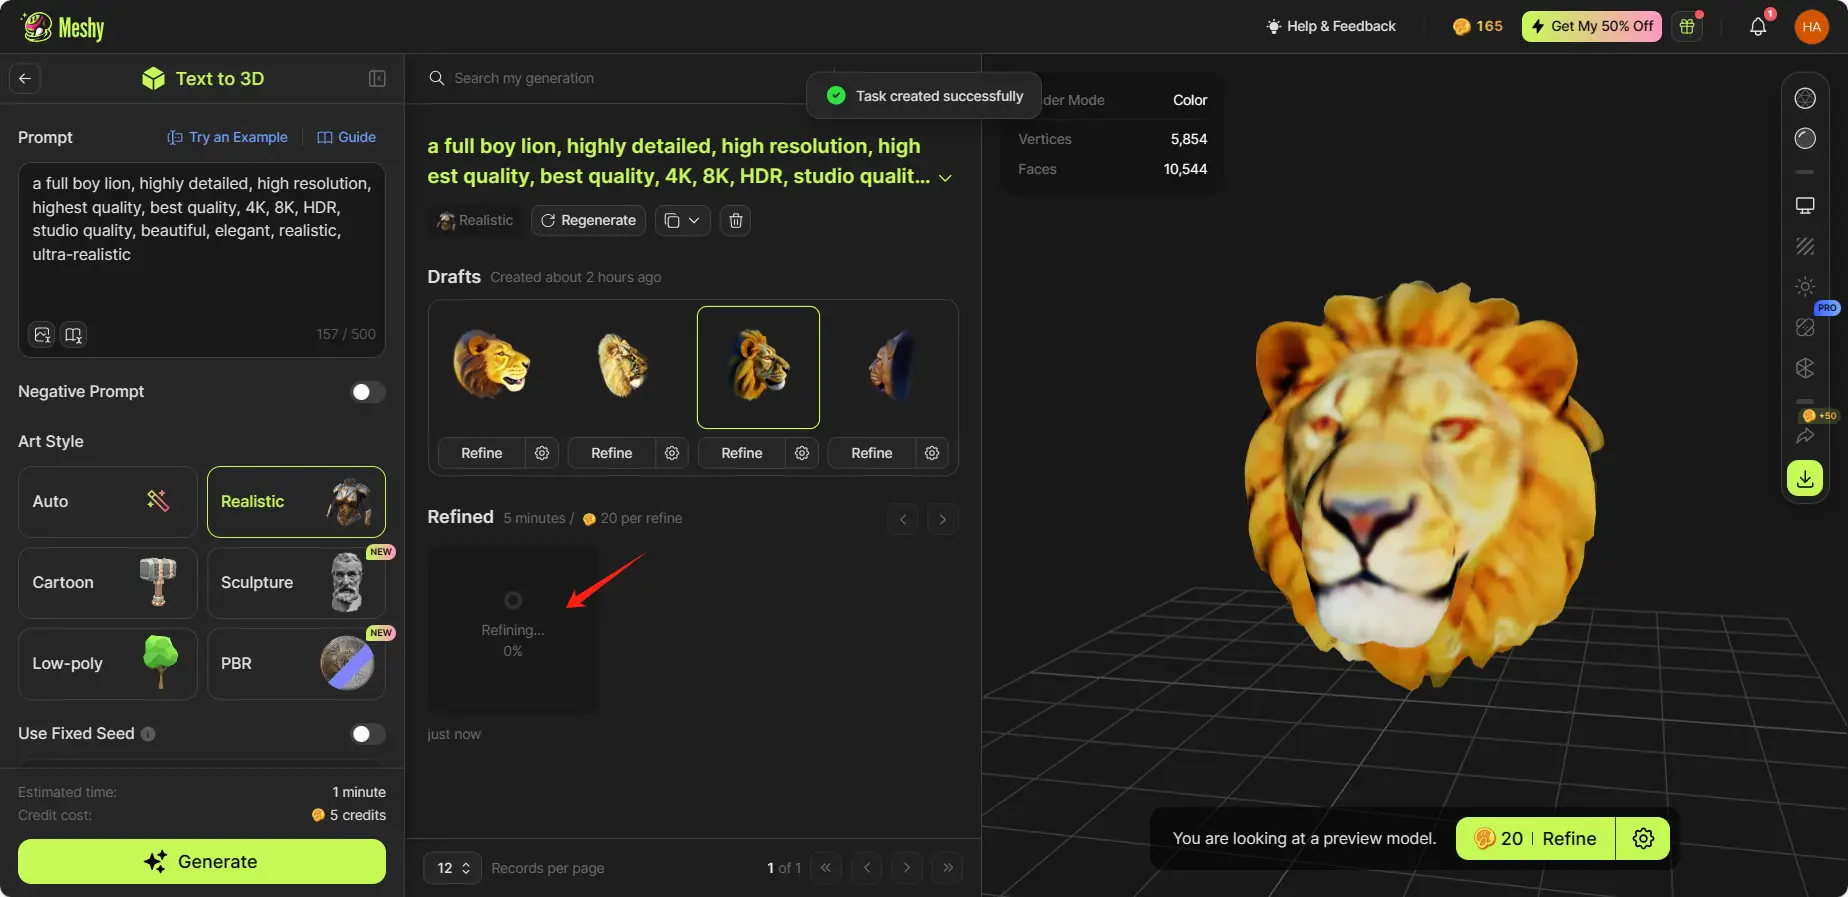 Refine process
Step 4: Explore the Refined Model
Click on the refined model to view it in detail in the 3D viewer. Use the preview settings panel on the right to tweak various settings. Switching to PBR shading allows you to adjust HDRI strength and rotation, while texture settings lets you fine-tune the metallic and roughness of the texture.
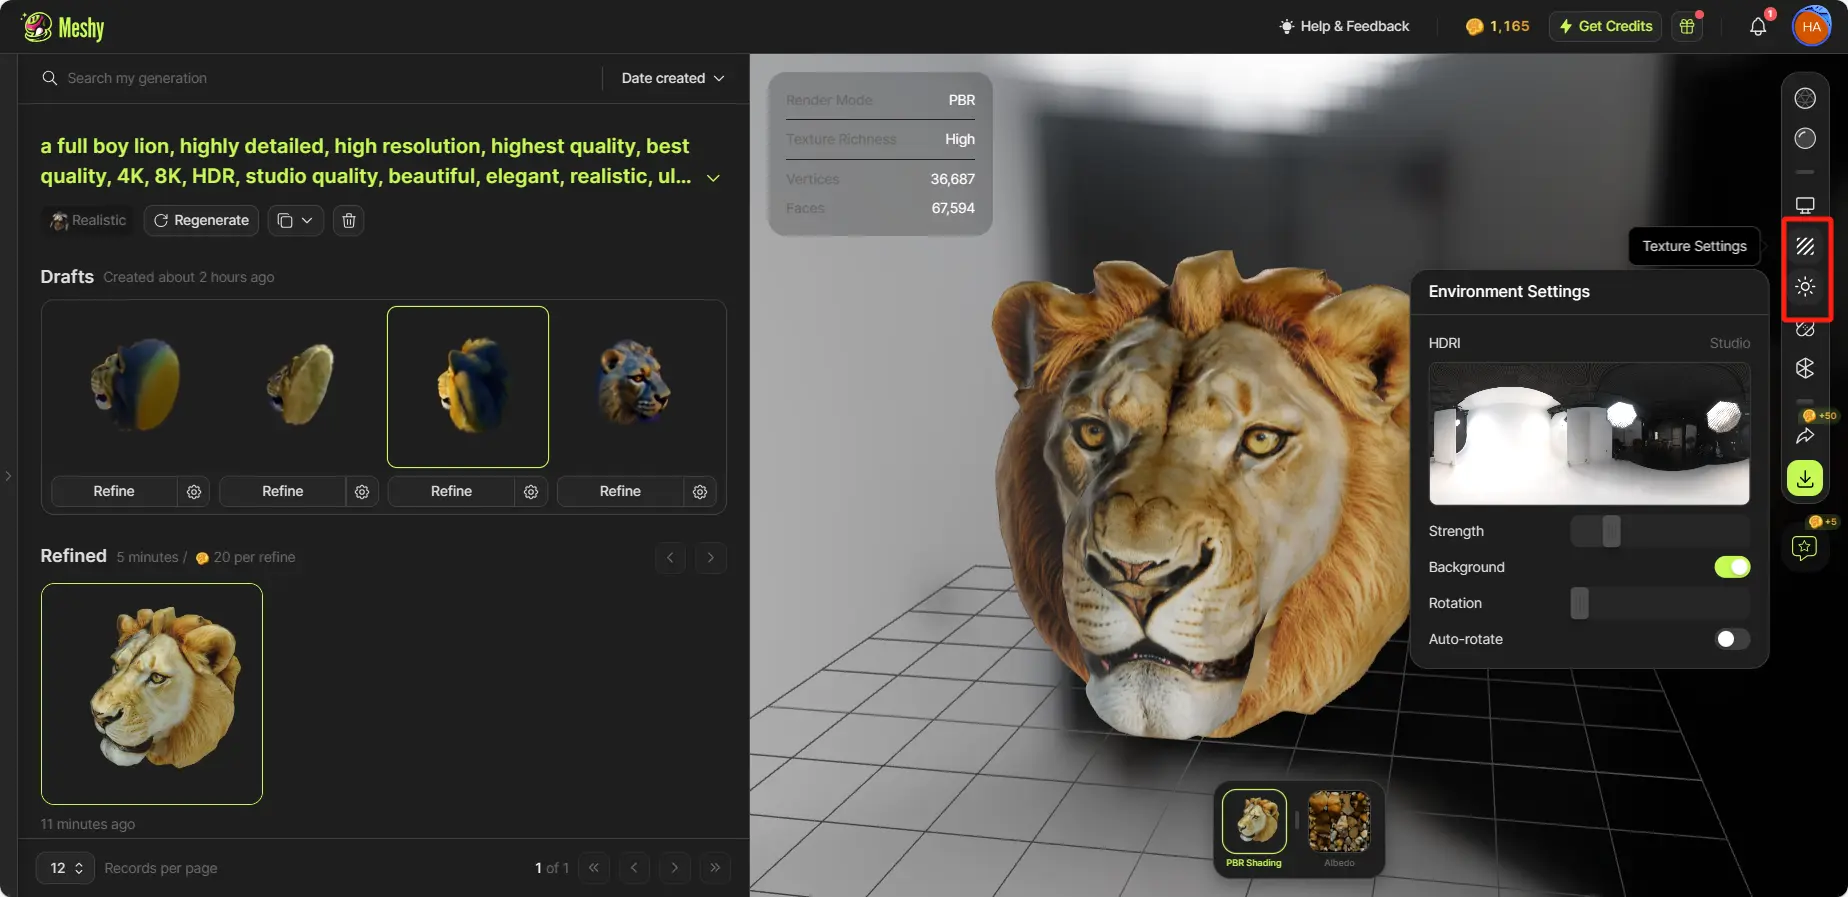 Texture Settings
Please note that adjusting these parameters won't alter the properties of the model and textures themselves. They are solely meant to provide different preview options.
Step 5: Edit Texture and Mesh
AI Texture Editing
If you're on a premium plan, you can utilize our AI texture generator tools to retexture models or remove unwanted elements.
AI texture editing can help you regenerate parts of the texture, while smart healing can assist in removing spots from the texture.
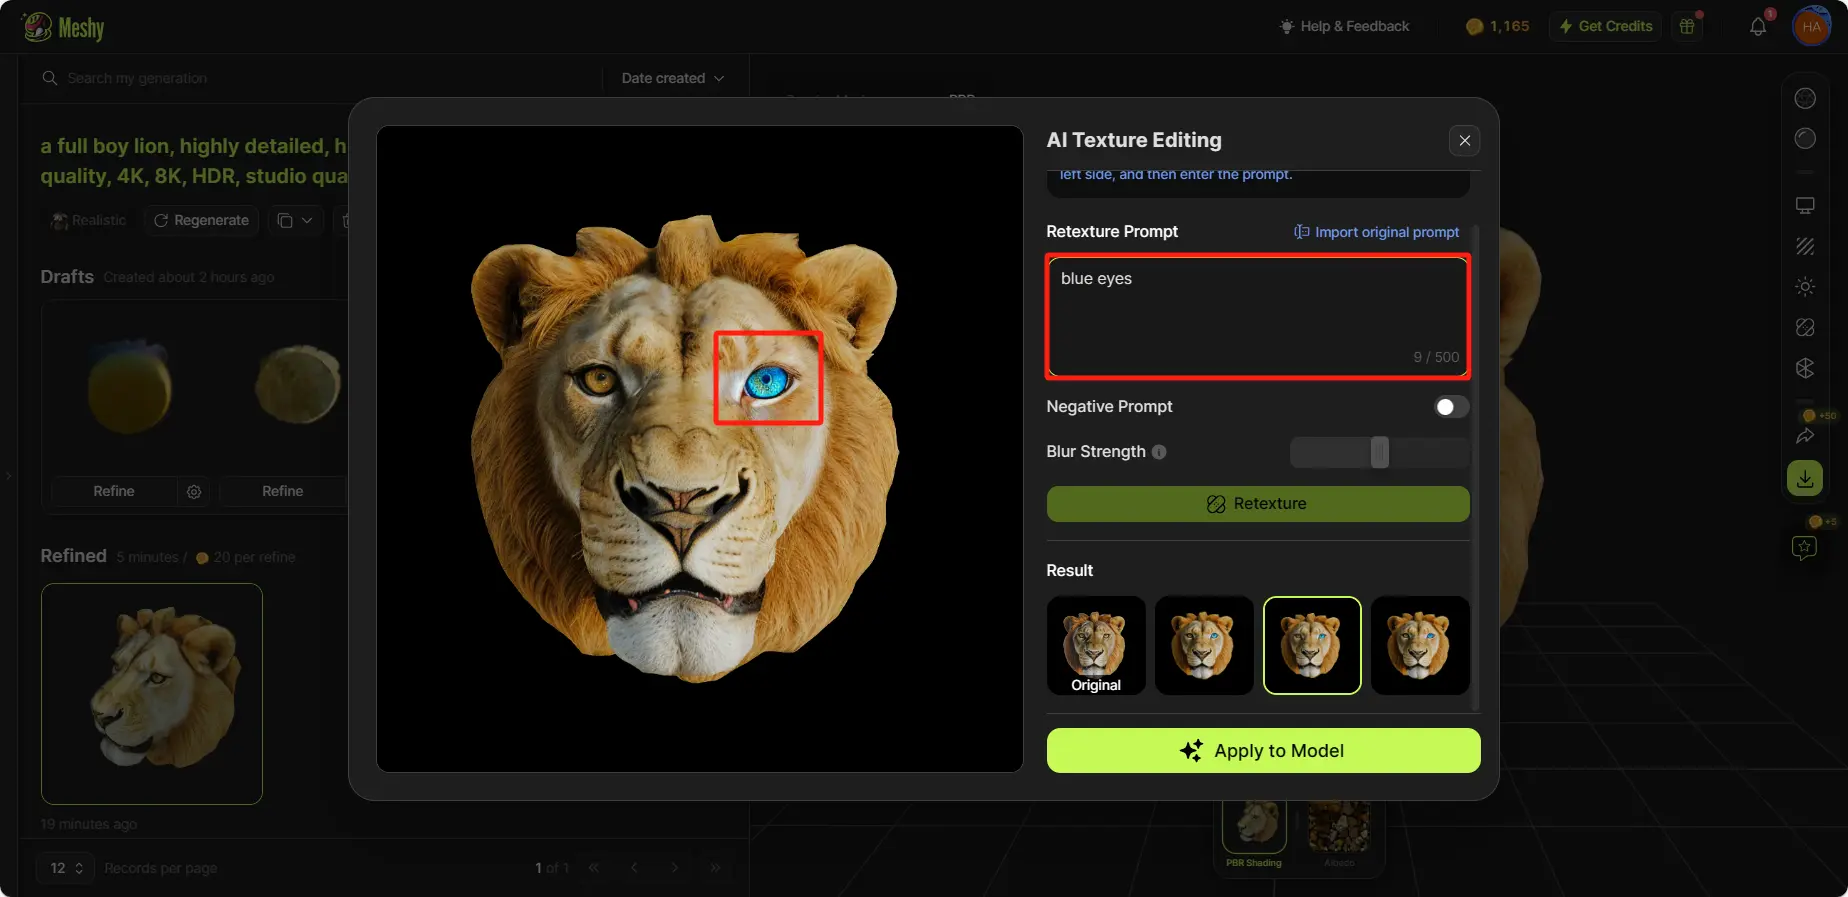 AI Texture Editing
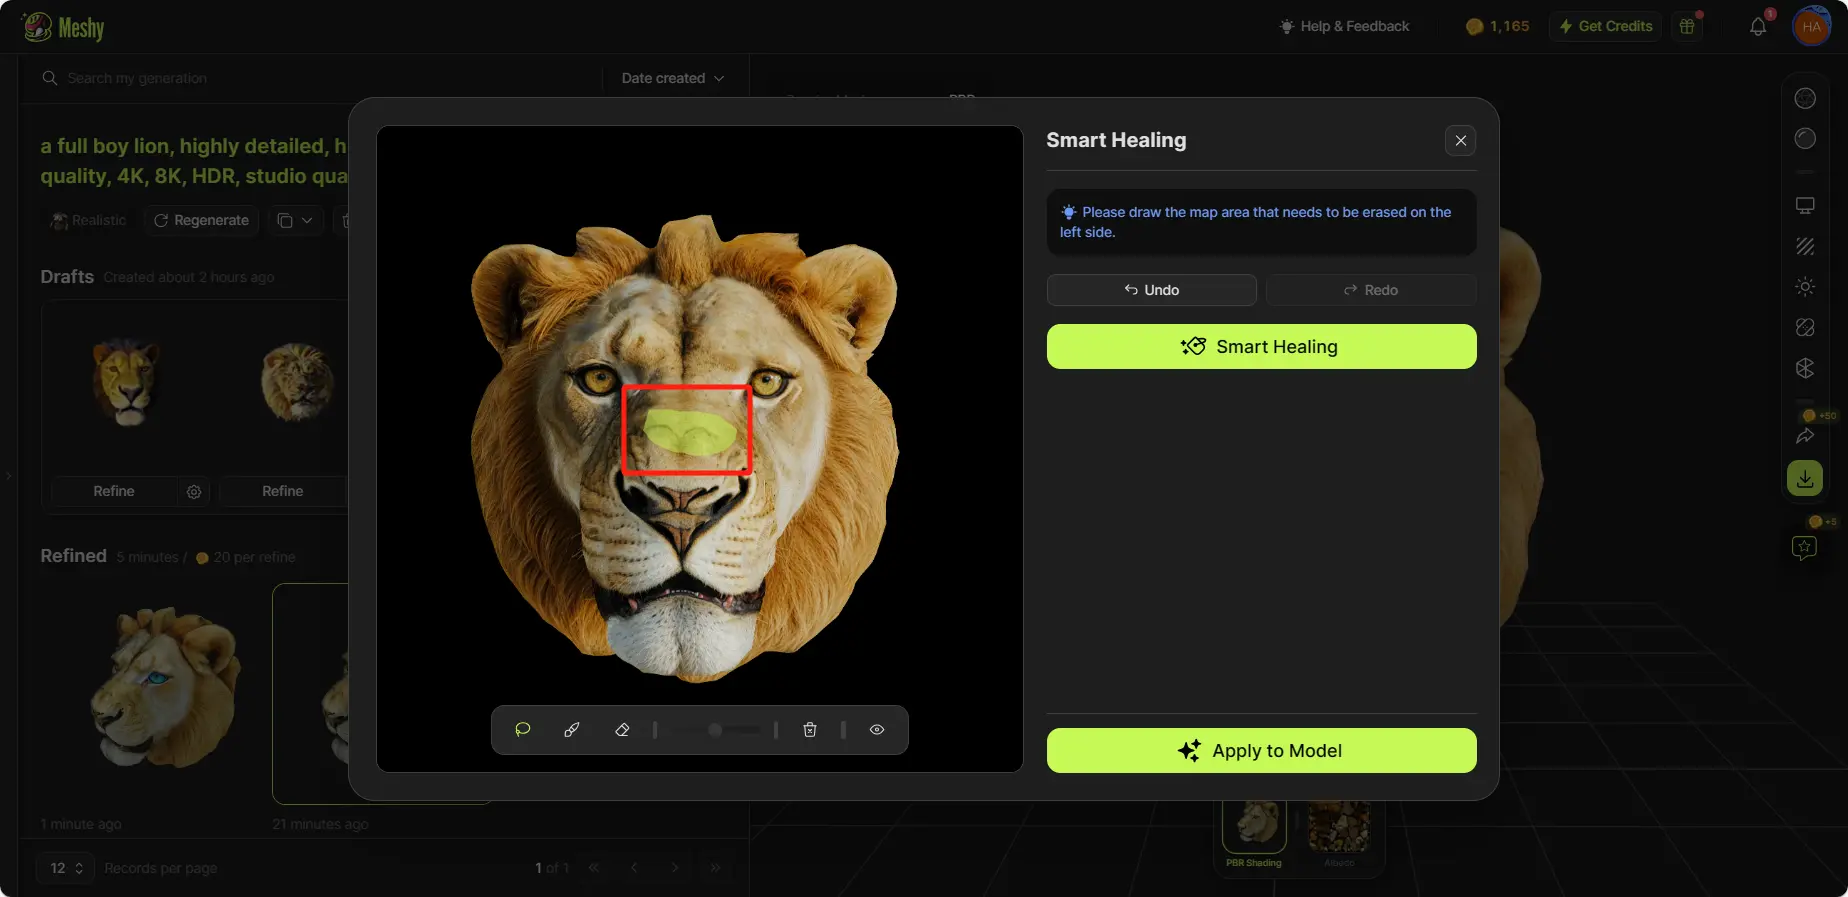 Smart Healing
Mesh Settings
Meshy supports polygon reduction and converting models to quads. Click on “Mesh Settings” in the right toolbar. This process takes just a few seconds.
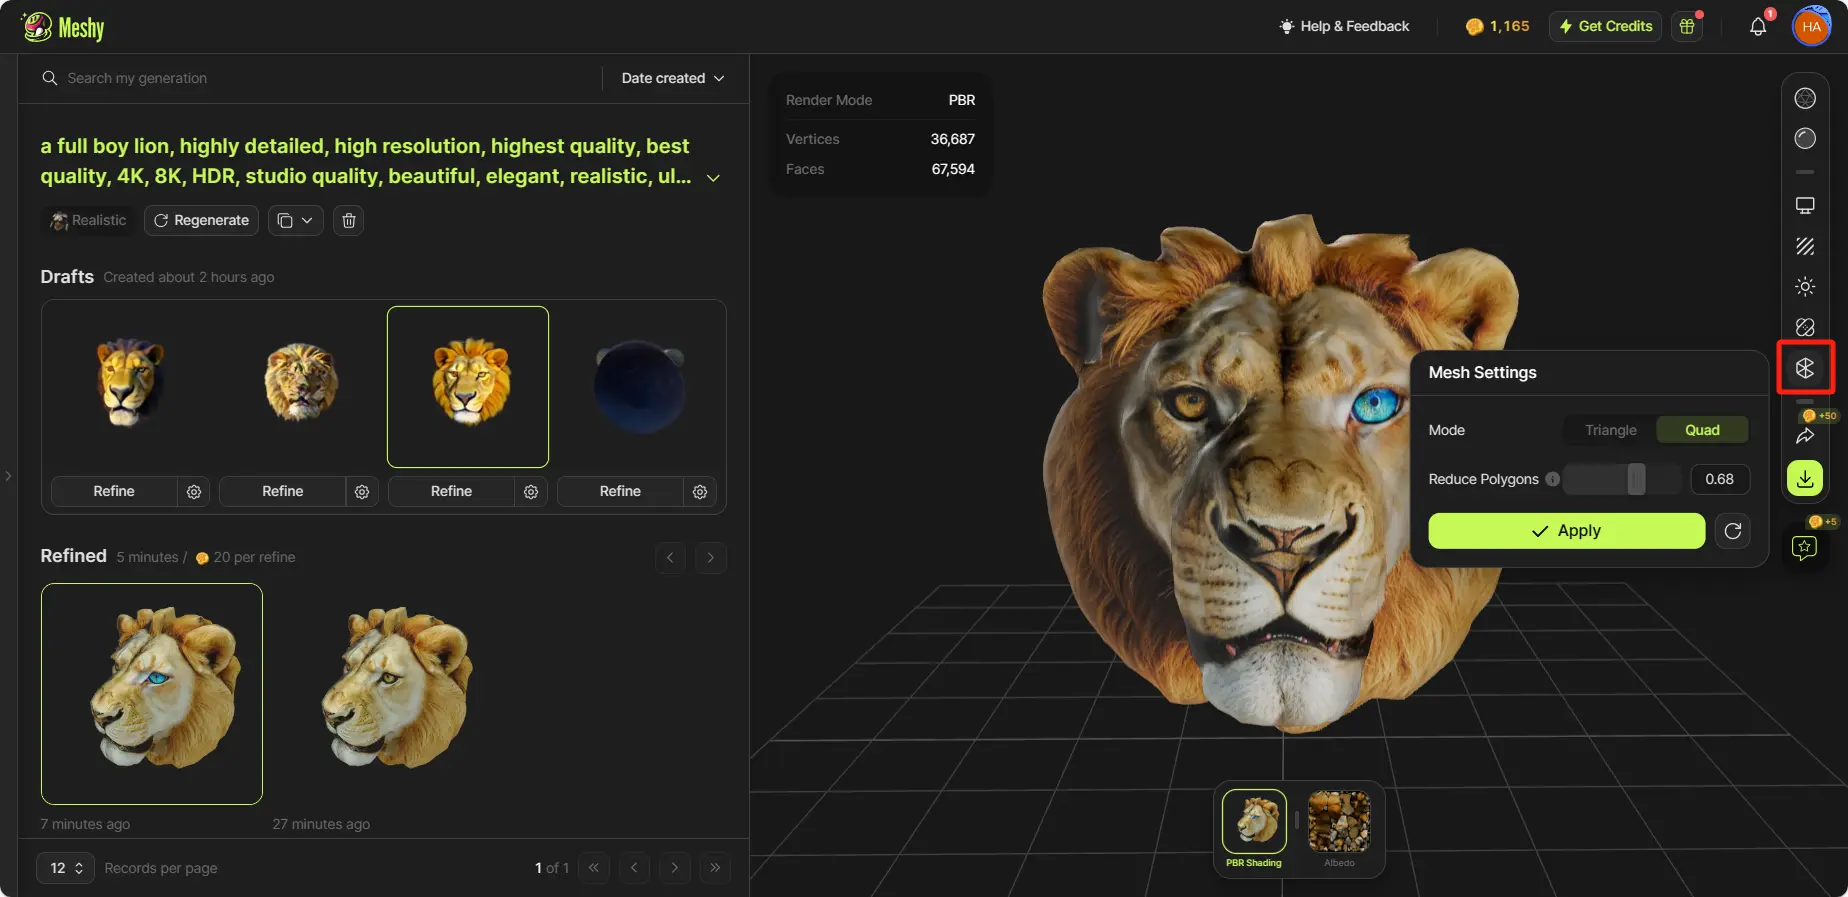 Mesh Settings
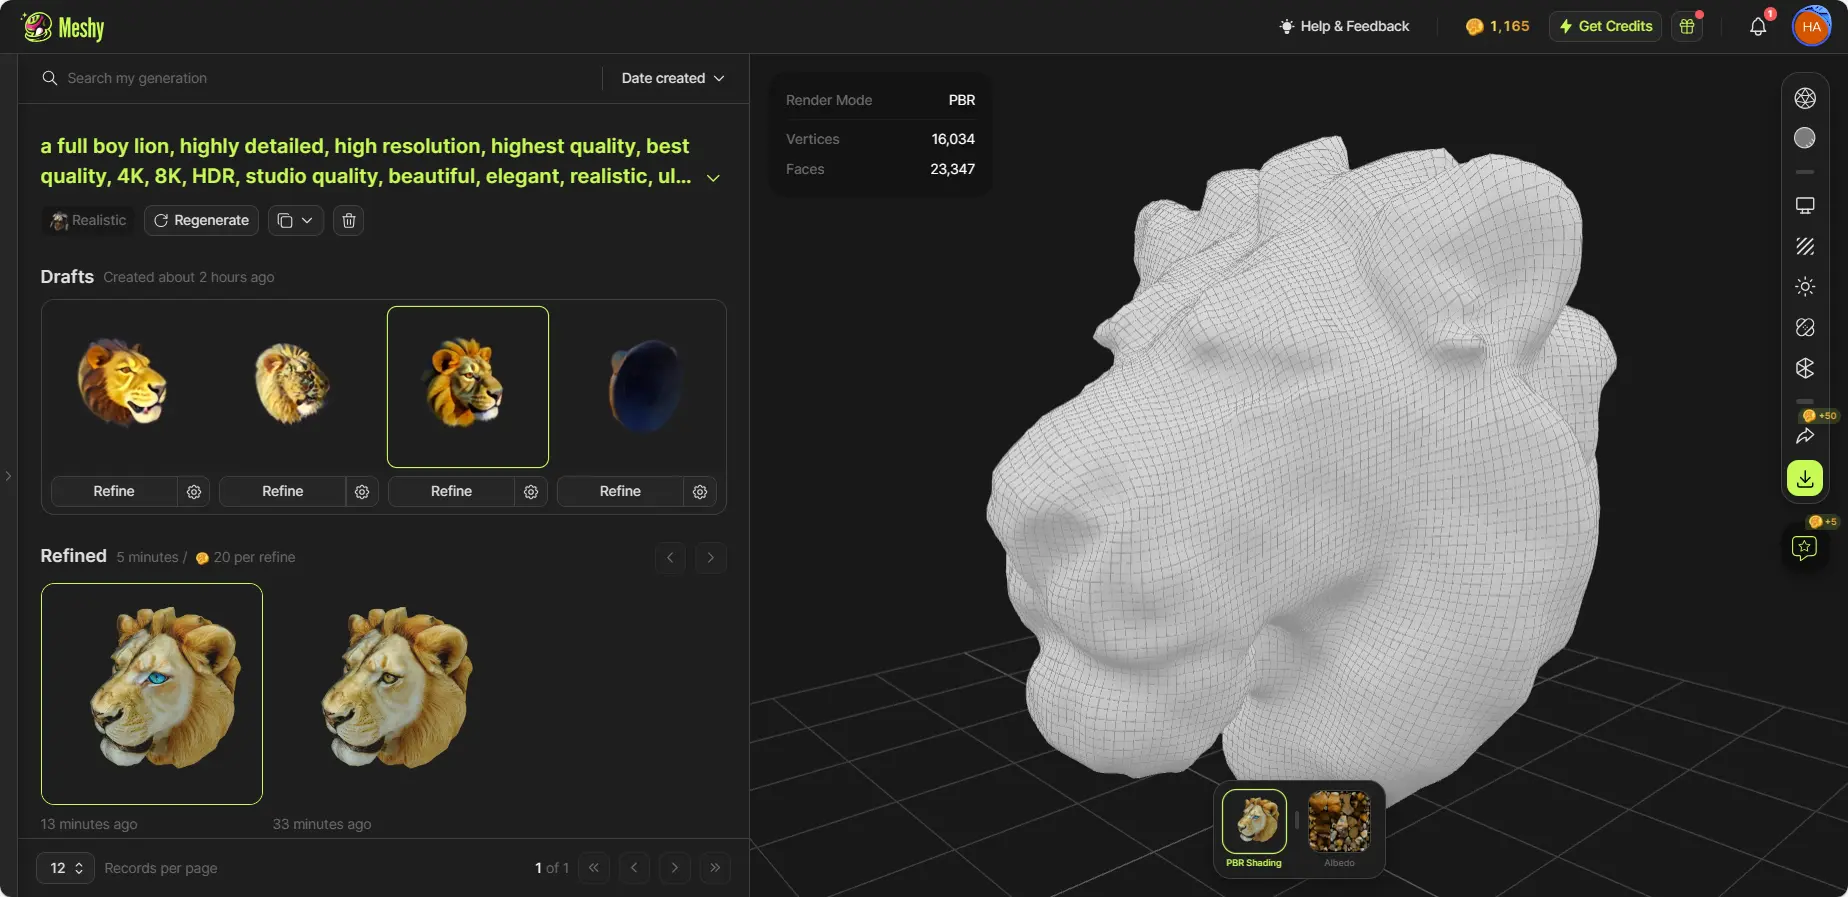 Reduce Polygons
Step 6: Download Your Assets
Download your assets by clicking the “Download” button on the right toolbar. Supported formats include .fbx, .obj, .usdz, .glb, .stl, and .blend.
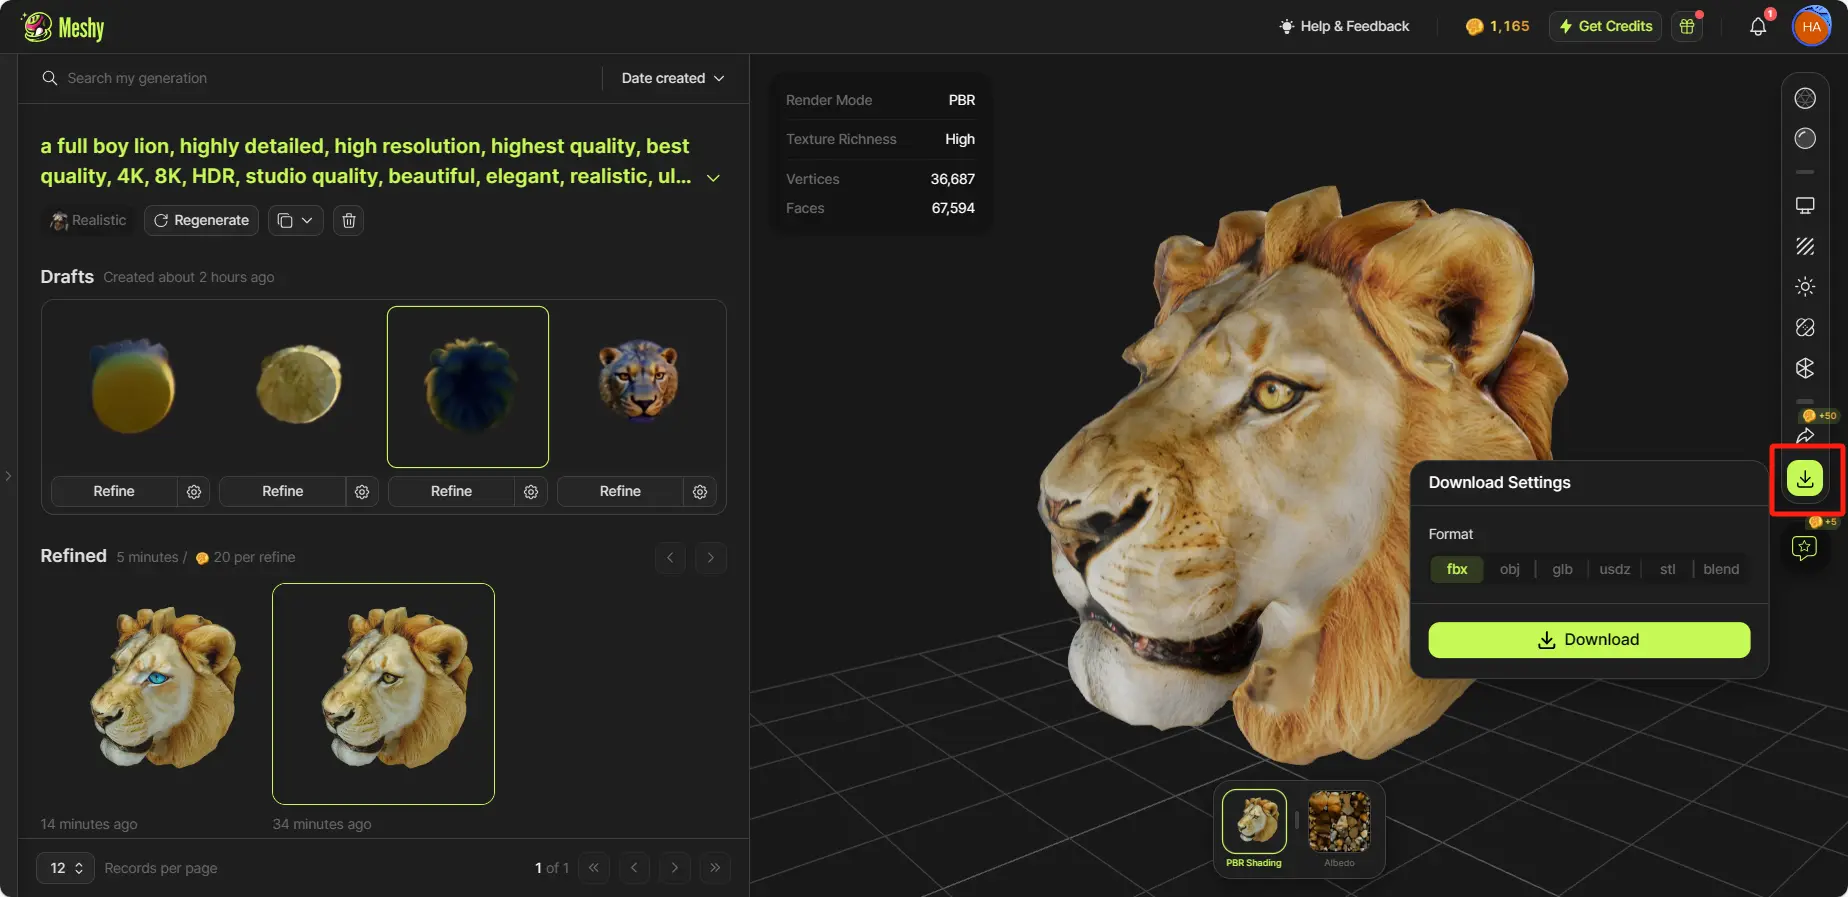 Download models
Step 7: Share Your Creations
If you want to share your artwork with the community or your friends, simply click the “Share” button on the right toolbar. From there, you can publish your model to the Meshy community, share it via email or social media, copy a model preview link, or download a video preview of your creation.
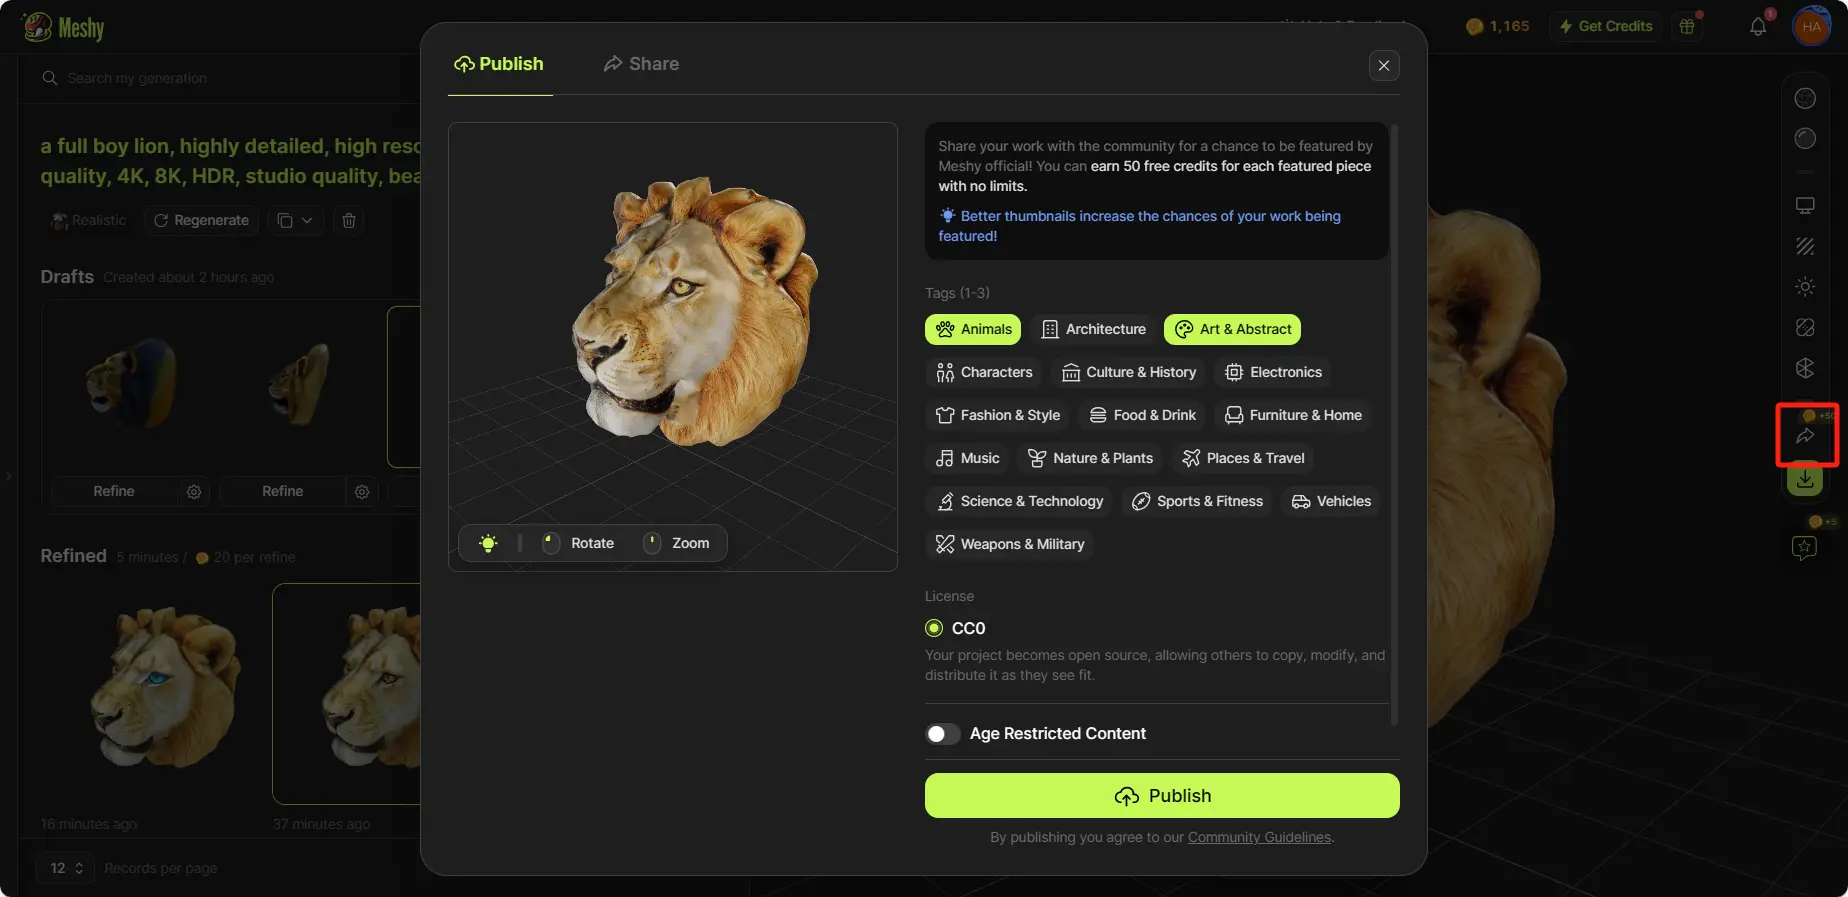 Publish to the community
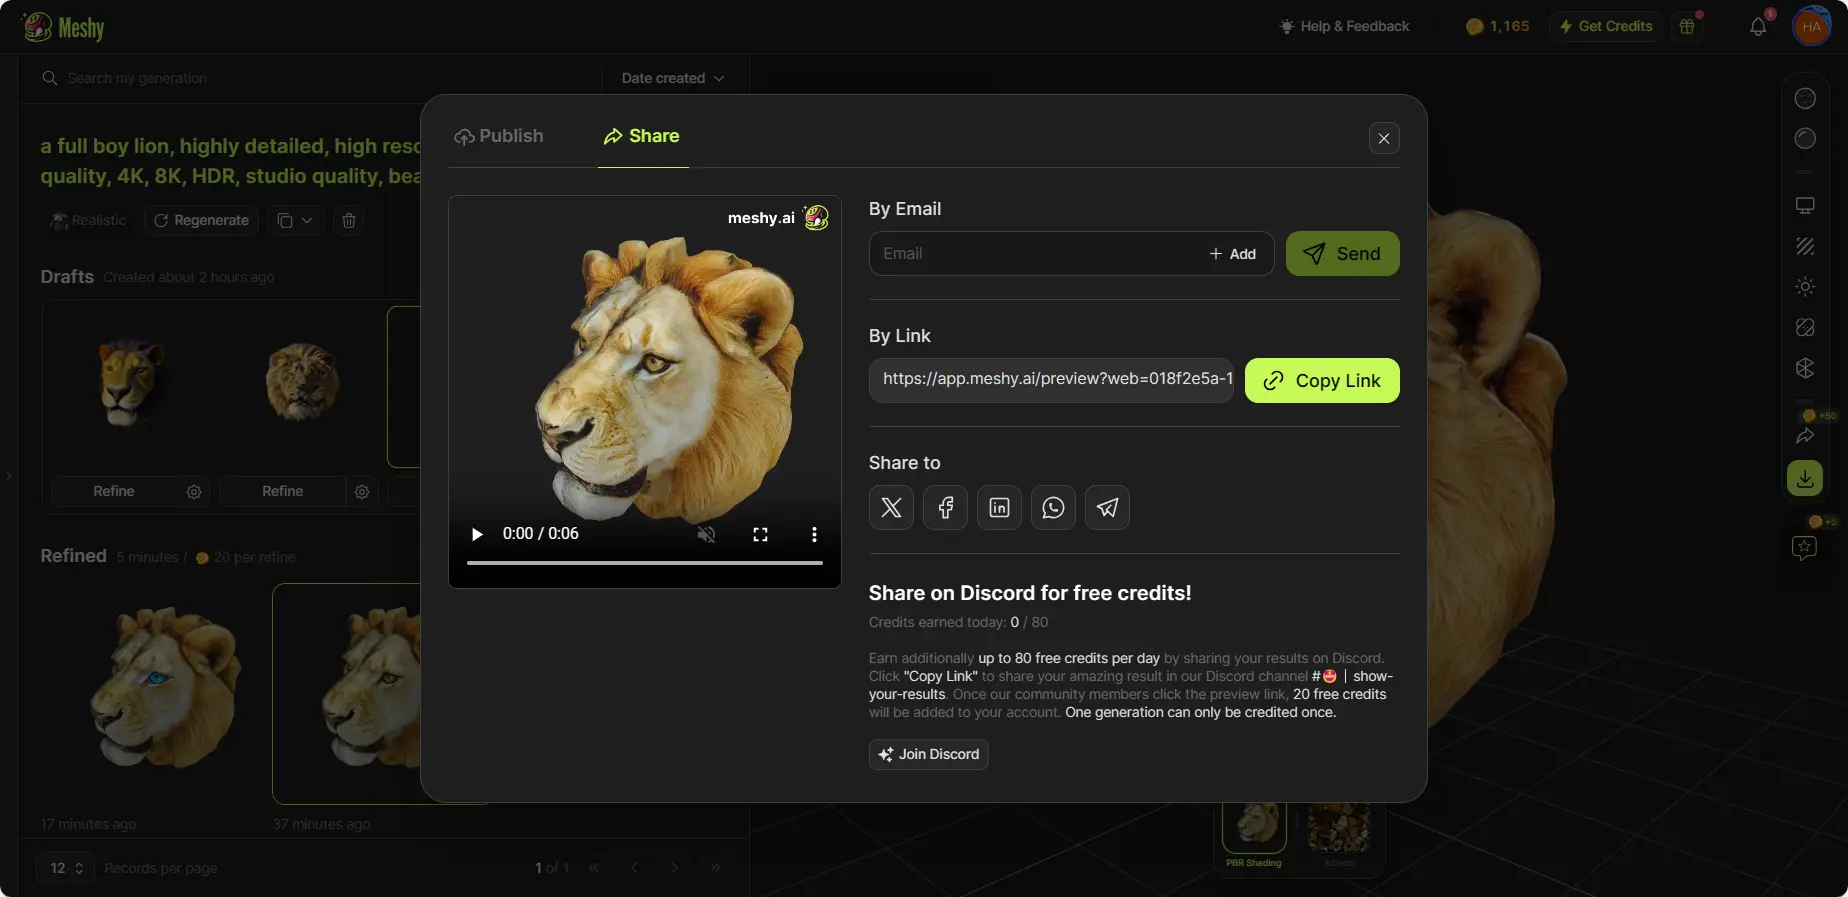 Share to social media platforms
Follow us
If you're interested in exploring more about Meshy, check out our social media platforms. Learn how AI 3D model generators can transform your creative workflow:
- Subscribe to our YouTube channel for the latest tutorials.
- Follow us on Twitter for news, tips, and inspiration.
- Join our Discord community to connect with other 3D artists.
FAQs
Which workflow changes make 3D prototyping significantly faster?
Five workflow changes that compound:
- Generate first, refine later — use Meshy Text-to-3D or Image-to-3D for the first pass instead of modeling from blockout. Saves 80% of the time on most asset types.
- Lock a style block before generating — 1–2 sentences reused across every prompt for consistency. No more art-direction inconsistency in the prop library.
- Multi-view over single-image — enable Multi-view in Image-to-3D with 2–4 angles. Dramatically improves geometry fidelity, eliminates manual backside cleanup.
- Texture-iterate, don't geometry-iterate — use AI Texturing for visual variants on the same base mesh. Cheaper, faster, more consistent.
- Automate via API — batch-generate prop sets overnight. Wake up to 50 dressing assets ready to import.
Bonus: for animated characters, Animate's auto-rigging cuts hours off the rigging pipeline. The compounding effect is real — teams that adopt these patterns report 3–5x throughput on prop and prototype work.
How has 2D AI art evolved into AI-generated 3D models?
The lineage is direct. Diffusion-based 2D image models (Stable Diffusion, DALL-E, Midjourney) demonstrated that generative AI could produce coherent visuals from text. The next research wave applied related techniques to 3D: novel-view synthesis, NeRFs, score distillation, and Gaussian splats — methods to infer 3D structure from text or 2D inputs.
The practical evolution shows up in tools like Meshy:
- Text-to-3D — generate a textured mesh from a prompt in 1–3 minutes.
- Image-to-3D — single or multi-image input infers backside geometry and produces export-ready 3D.
- AI Texturing — repaint existing meshes from prompts.
- Animate — auto-rig and apply preset motions to generated characters.
What changed in the last two years is reliability: 3D generation is no longer a novelty, it's a routine production tool that designers and developers use daily. The next frontier is finer artist control — pose, silhouette, style consistency across asset sets — areas where Meshy is investing actively.
Is AI 3D generation worth it for my studio — what do the asset packs and workflow times look like?
Concrete numbers from typical studios using Meshy:
Asset throughput:
- Single prop generation: 1–3 minutes
- Refine + Remesh: ~3 minutes
- Animate (rigging + motion): ~2 minutes
- Total per asset: ~5–10 minutes from prompt to export-ready
Production examples:
- 50-prop game asset library (props, dressing, secondary characters): 1 afternoon of API-driven batch generation
- AR catalog of 100 products from existing studio photos: 2–3 days end-to-end
- Indie game's full prop library replaced by Meshy generation: 80–95% reduction in artist hours
ROI signal:
- Subscription cost — generally hundreds of dollars per month per seat at the highest production tiers.
- Single artist hour replaced — saves multiples of subscription cost per day.
- Time-to-market — projects ship weeks earlier, often the more important metric.
Where Meshy adds real margin: prop libraries, environment dressing, secondary characters, AR product catalogs, marketing visualizations. Where humans still add hero polish: lead characters, key cinematic moments, brand-critical product shots.
What does a new gamedev need to know about 3D modeling?
The minimum viable 3D modeling knowledge for a new gamedev:
- File formats — FBX for engine import, GLB for web/AR, OBJ as universal exchange. STL for printing only.
- Mesh basics — vertices, edges, faces. Triangles are the rendering primitive; quads are the editing primitive.
- UVs — the 2D mapping that lets a texture wrap around a 3D mesh. Bad UVs = visible seams or stretching.
- PBR materials — albedo (color), metalness, roughness, normal. The standard for modern engines.
- Polycount — every triangle costs render time. Target 5–20K tris for mobile props, 30–60K for desktop hero, 100K+ for cinematic.
- Topology — quad-based edge flow is what makes models deform cleanly when rigged.
Fastest path to fluency: use Meshy to generate assets without modeling, then learn Blender (free) when you need to fix or extend something. Most gamedevs learn 3D faster by running the import / play / iterate loop daily than by grinding through a textbook. The free Meshy tier and free Blender cover everything you need to build a complete game's worth of assets.
What's the difference between text-to-3D and image-to-3D generators, and when should I use each?
Both produce 3D models with AI, but they take different inputs and suit different scenarios.
Text-to-3D:
- Input — written prompt ("low-poly stylized fox sitting, autumn fur, fluffy tail").
- AI hallucinates the entire form from the prompt.
- Good when you have an idea but no reference image.
- Concepting, brainstorming, exploring variations.
- You can iterate quickly by tweaking words.
- Works best for clearly nameable subjects (animals, props, vehicles, buildings).
- Limitation: hard to lock down a specific look — same prompt yields different results each run.
Image-to-3D:
- Input — a 2D image.
- AI reconstructs 3D form from the visible silhouette and shading.
- Good when you have an existing reference (photo, sketch, screenshot, mood board, painting).
- Higher fidelity to the reference's style and proportions.
- Single front view works for symmetric subjects; enable Multi-view (multiple angles) for asymmetric ones.
- More predictable outputs because the image anchors the result.
- Limitation: anything not visible in the image must be hallucinated.
Decision flowchart:
- Have a reference image you love? → Image-to-3D.
- Have only a description or idea? → Text-to-3D.
- Need exact match to a real product/character? → Image-to-3D with Multi-view enabled (multiple angles).
- Iterating quickly on form? → Text-to-3D, then refine winner with Image-to-3D using the chosen render.
Hybrid workflow many users adopt: generate with Text-to-3D, render the best angle, then re-feed that render through Image-to-3D for a higher-detail final pass with Refine. The first pass acts as a "concept lock"; the second pass nails the details.